Moving the Folder Basepath of the FAUbox Client on macOS
Please note!
Moving the basic folder path to a network drive is not recommended! There is a risk of data loss!

This page is currently under construction! Contact the support please, if you want to change your folders base.
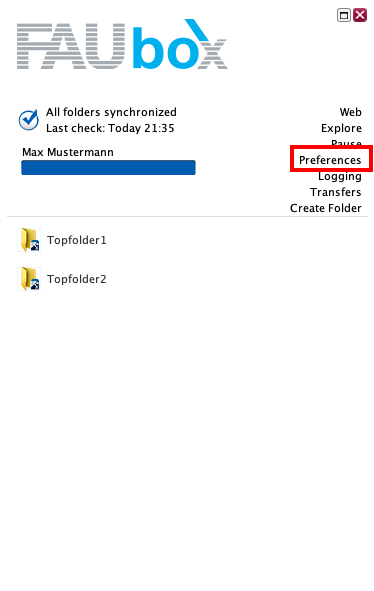
1. Start the FAUbox client.
2. Click on Preferences in the upper right corner and select General.
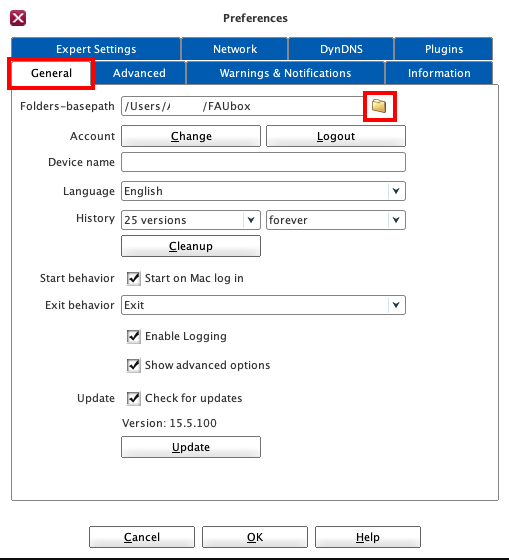
3. Click on the folder-icon next to folders-basepath.
4. Select the desired directory and confirm with OK.
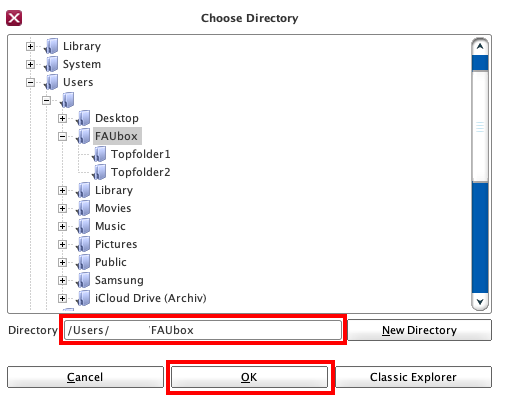
Example:
As seen in the picture above, the FAUbox basefolder is located in the same directory as Desktop, Library etc . Now if you want to change the basepath of the FAUbox and move it to Desktop for example, you have to change the path from C:\Users\___\FAUbox to C:\Users\___\Desktop\FAUbox
Be careful to include the FAUbox basefolder in the path since it could lead to loss of data otherwise!
Furthermore: If you click on the button called New Directory then the following window will open up. You can then enter the name for a new directory and click on OK ….
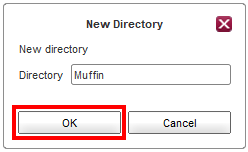
…afterwards the new directory (called Muffin in the example above) will be created and all toplevel folders within the FAUbox basefolder will be moved into that directory: FAUbox basefolder > Muffin > top-level folders
5. Click OK in the preference window.
6. After clicking OK, the following window will open up. Now you have to confirm, that all the data located in the FAUbox basefolder should also be moved to the new path. Click Yes.
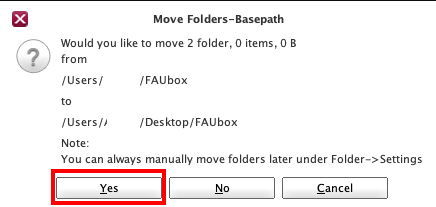
7. Done! The folder basepath of your FAUbox basefolder (including all its containing folders and files) was successfully changed.
Please note!
By moving the folder basepath the Access time (atime), Change time (ctime) and Modification time (mtime) of the files and folder will be changed as well!
If you want to avoid these changes, you have to manually move each top-level folder to the new basepath. The following three instructions will show you how to do that:
1. Moving top-level Folders via Finder:
The following instruction will show you how to move the top-level folders while only changing the Access time (atime):
Follow the above described instruction until step five. In step six you have to click on No instead of Yes. Now you have to manually move the top-level folders.
- Close the client.
- Open the file system on your device and select the top-level folder you want to move.
- Press the buttons [Cmd] + [C]. The top-level folder is now being copied.
- Now open the directory you want to move the folder in and insert the top-level folder by pressing the buttons [Cmd] + [V].
- Lastly, delete the original top-level folder in the old folder basepath.
- Repeat this process with all folders.
2. Moving Toplevel Folders via Console:
1. Method: Changing the atime and mtime
- Close the client.
- Open the spotlight search function by pressing the buttons [Cmd] + Spacebar and enter the command “Terminal“.
- Double-click on the search result and add the command “cp -r -p old folder base path/foldername new folder base path” (Please not that you have to enter the actual path and foldername in the command).
- Delete the top-level folder in the old folder base path.
2. Method: Changing the atime and ctime
- Close the client.
- Open the spotlight search function by pressing the buttons [Cmd] + Spacebar and enter the command “Terminal“.
- Double-click on the search result and add the command “rsync -avu old folder base path/foldername new folder base path” (Please not that you have to enter the actual path and foldername in the command).
- Delete the top-level folder in the old folder basepath.