Deleting a Toplevel Folder via Client
1. Removing a Toplevel Folder via Client:
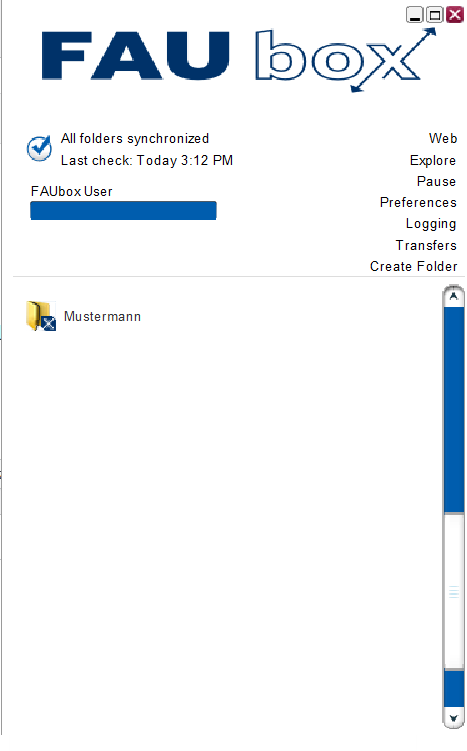
1. Right-click the toplevel folder which should be removed from the cloud.
2. Click on Stop Sync.

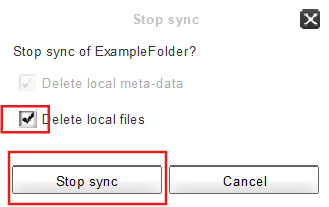
3. Now you have to confirm your choice by selecting Stop Sync once again.
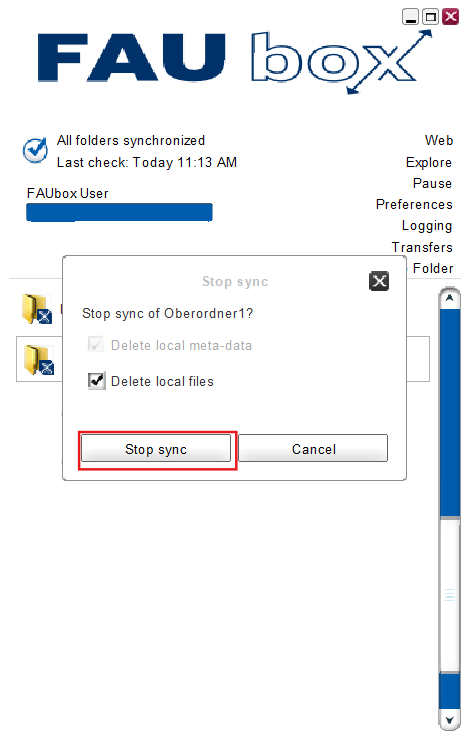

If you want to delete the local files of the toplevel folder as well, you can select Delete local files. If you skip this option, then the synchronization of the folder will be stopped but its local files, which were synchronized up to this point, will remain (you can delete them via file system later on, if wanted).
4. The folder will now appear grey in the client. Right-click on the folder again, choose Leave folder and confirm the deletion.
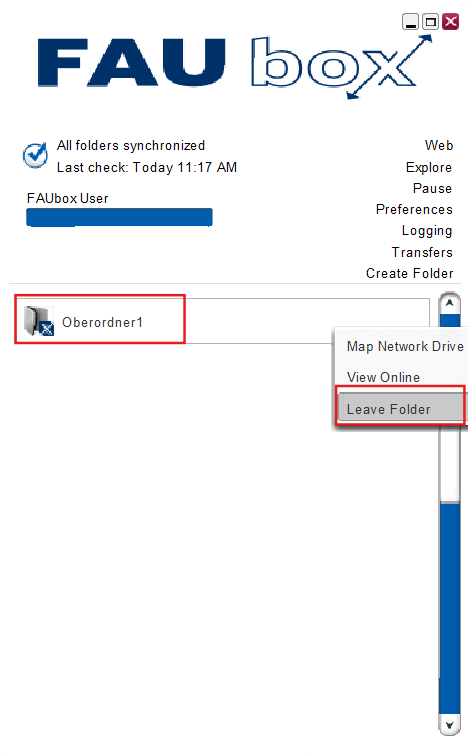
5. Done! The toplevel folder has been successfully deleted.
2. To disable the automatic Backup of new Folders:
1. Open the client and click on Preferences.
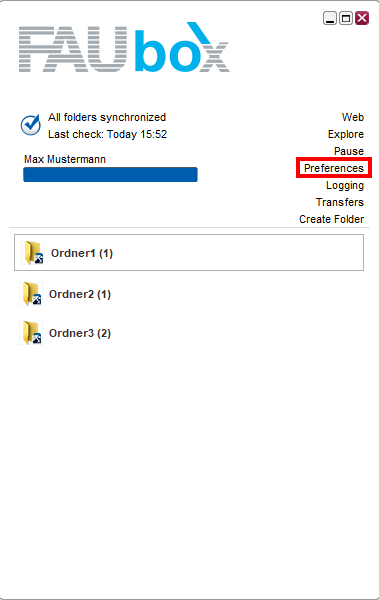
2. Open the tab Advanced and remove the checkmark next to Backup new folders to the cloud by default.
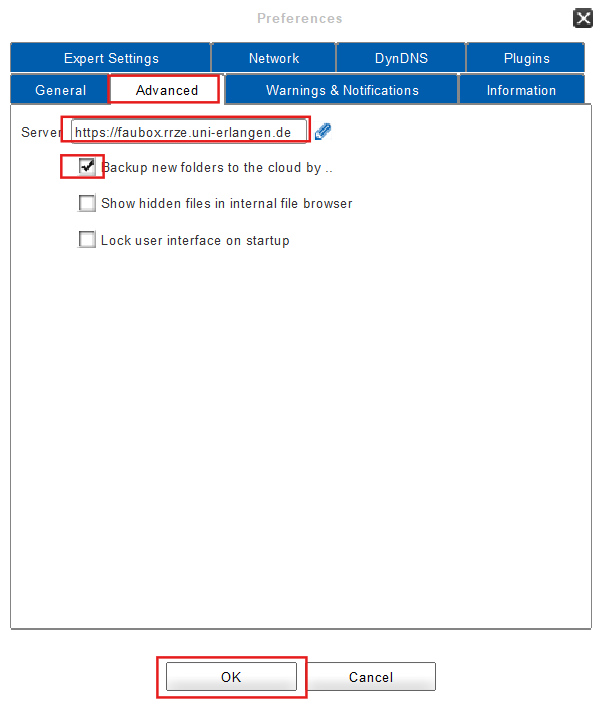
3. Click on OK.
4. Done! The backup of new folders to the cloud has been successfully disabled.
3. To remove an already deleted Toplevel Folder:
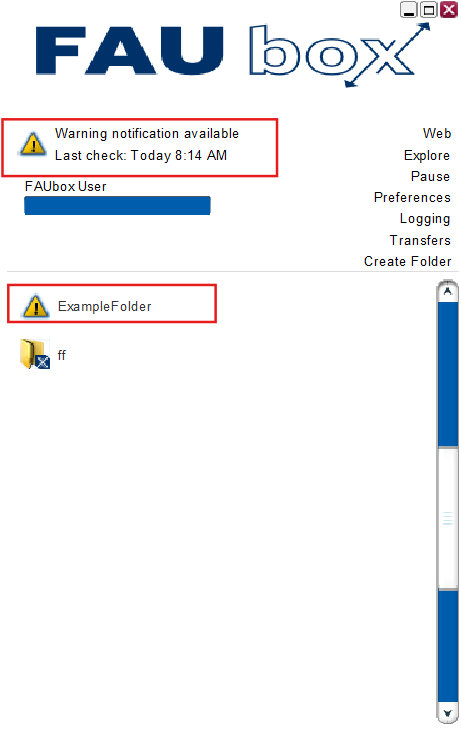
Whenever a toplevel folder is deleted via webinterface or file system, you have to additionally stop its synchronization in the client and remove it. Otherwise the client might restore the toplevel folder assuming that it was accidently deleted (hence the yellow warning sign).
1. Open the client and select the deleted toplevel folder (a yellow warning sign will be attached to it) via right-click and click on Stop sync.
2. A window will open next. Add a checkmark next to Delete local files if you wish for the local files of the toplevel folder to be deleted as well. Afterwards click on Stop sync.
3. Done! The toplevel folder is now removed from the client and disappers from the folder listing.