Excluding Files or Directories
Excluding files or directories is done via top-level folder and allows the user to prevent certain files or directories to be synced with other clients. Furthermore, the sync percentage will also be affected by this operation since excluded files are deducted from the percentage of synchronized data.
1. Excluding Files or Directories:
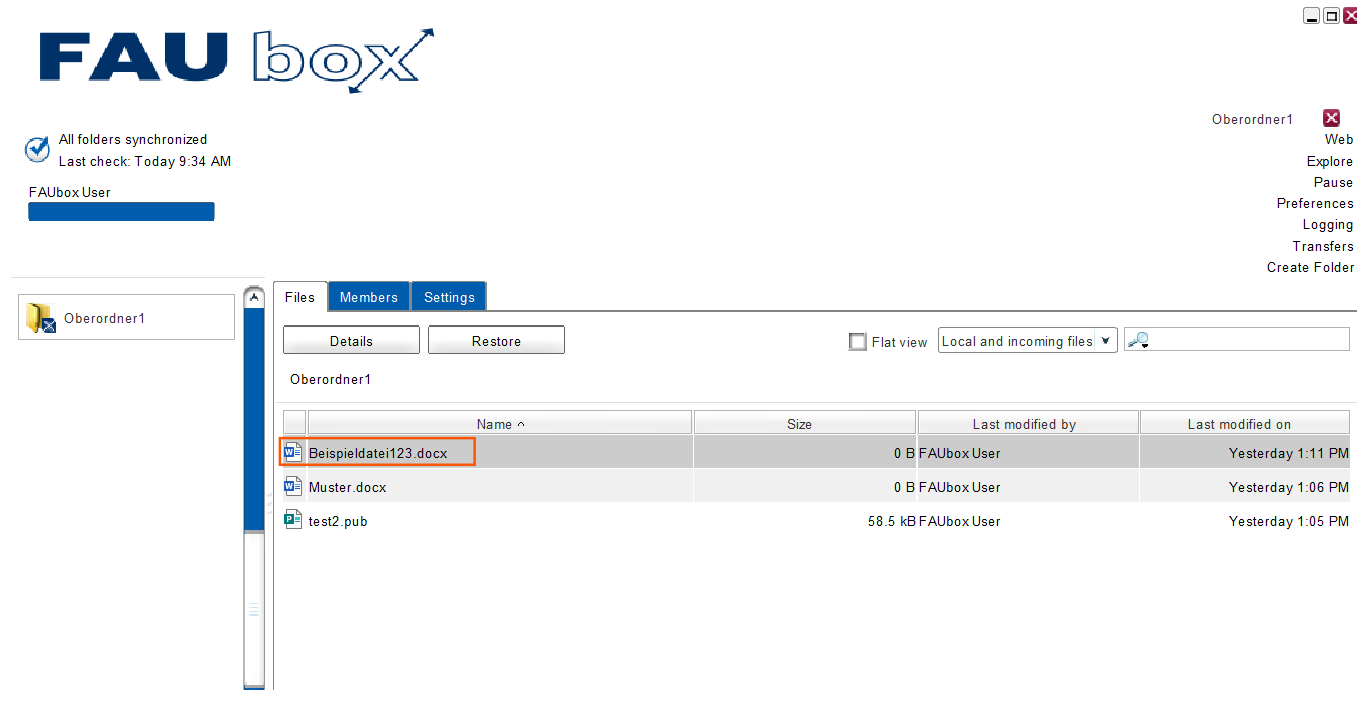
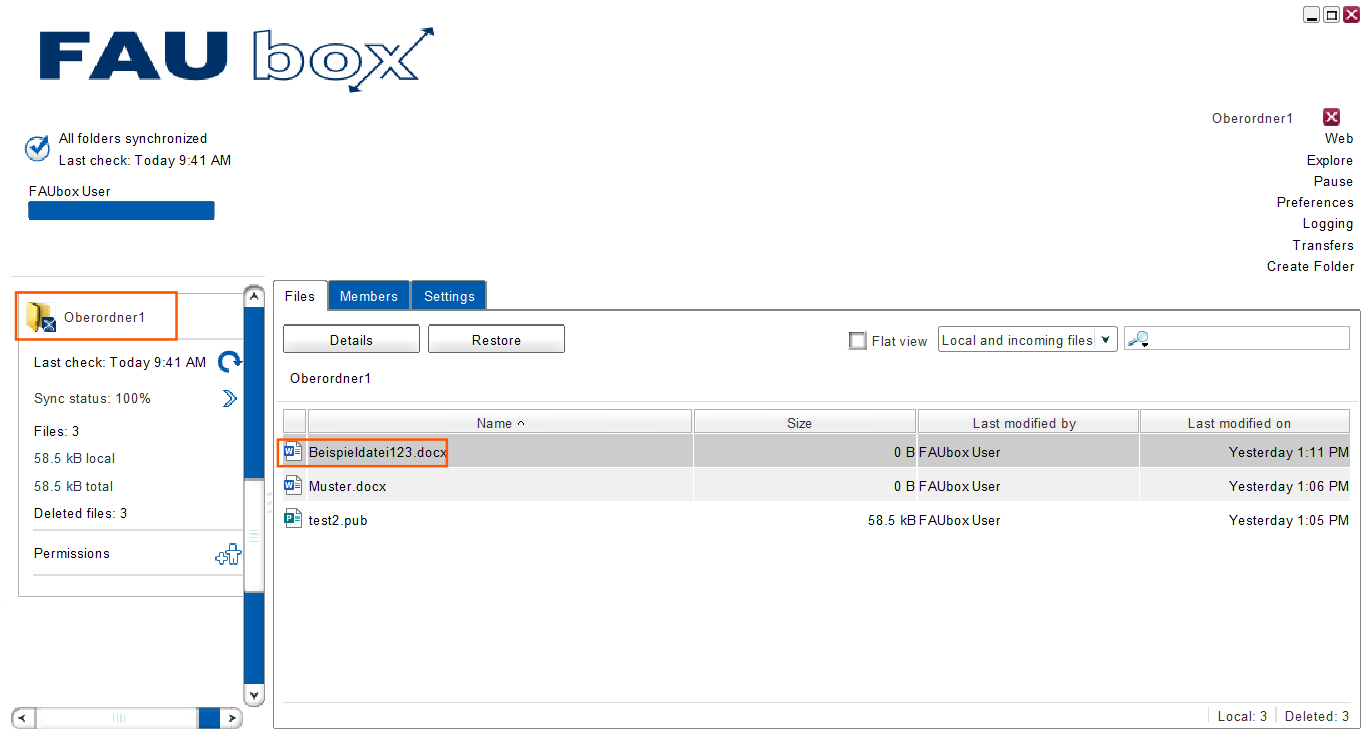
Example: We want to exclude the file ‘Beispieldatei123’ which is located in the top-level folder ‘Oberordner 1‘.
1.1 Excluding Files or Directories using the internal File Browser:
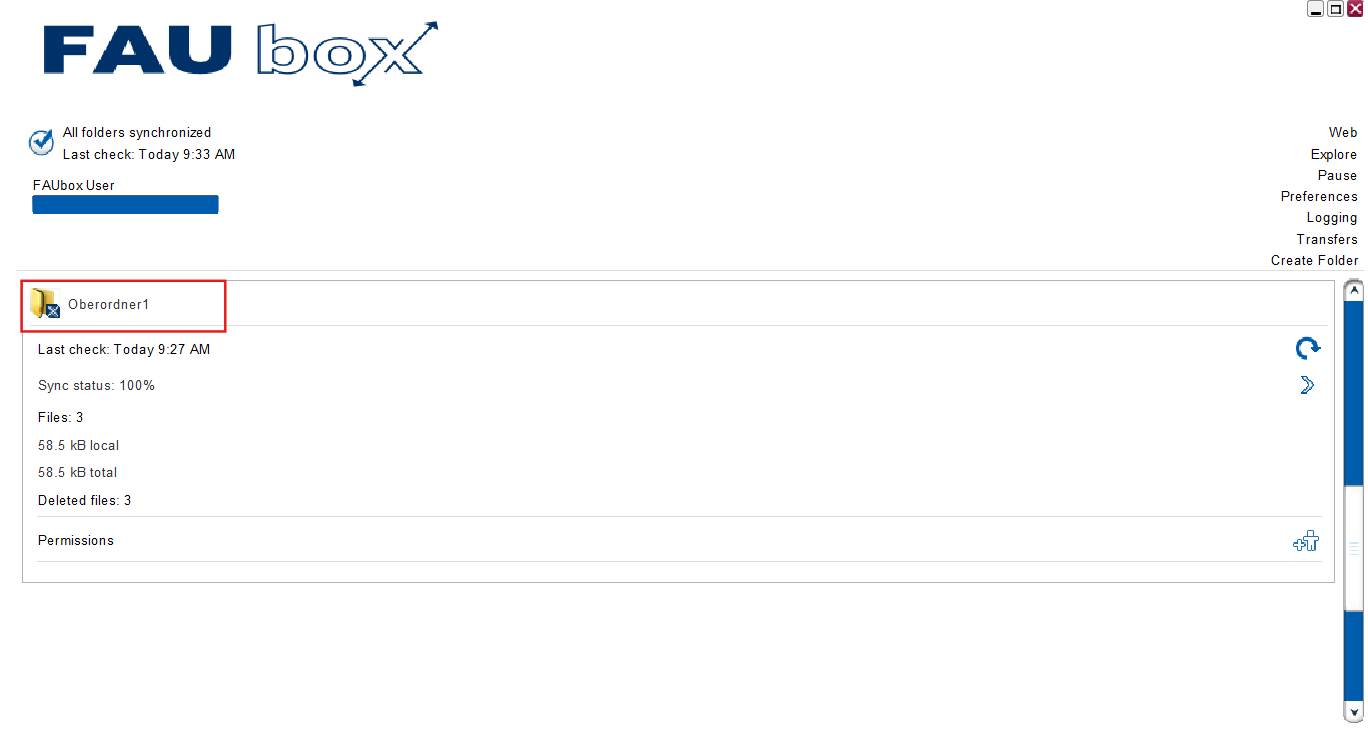
1. Click on the top-level folder, that contains the file/directory you want to exclude.
2. Search for the file/directory which you want to exclude in the tab Files.
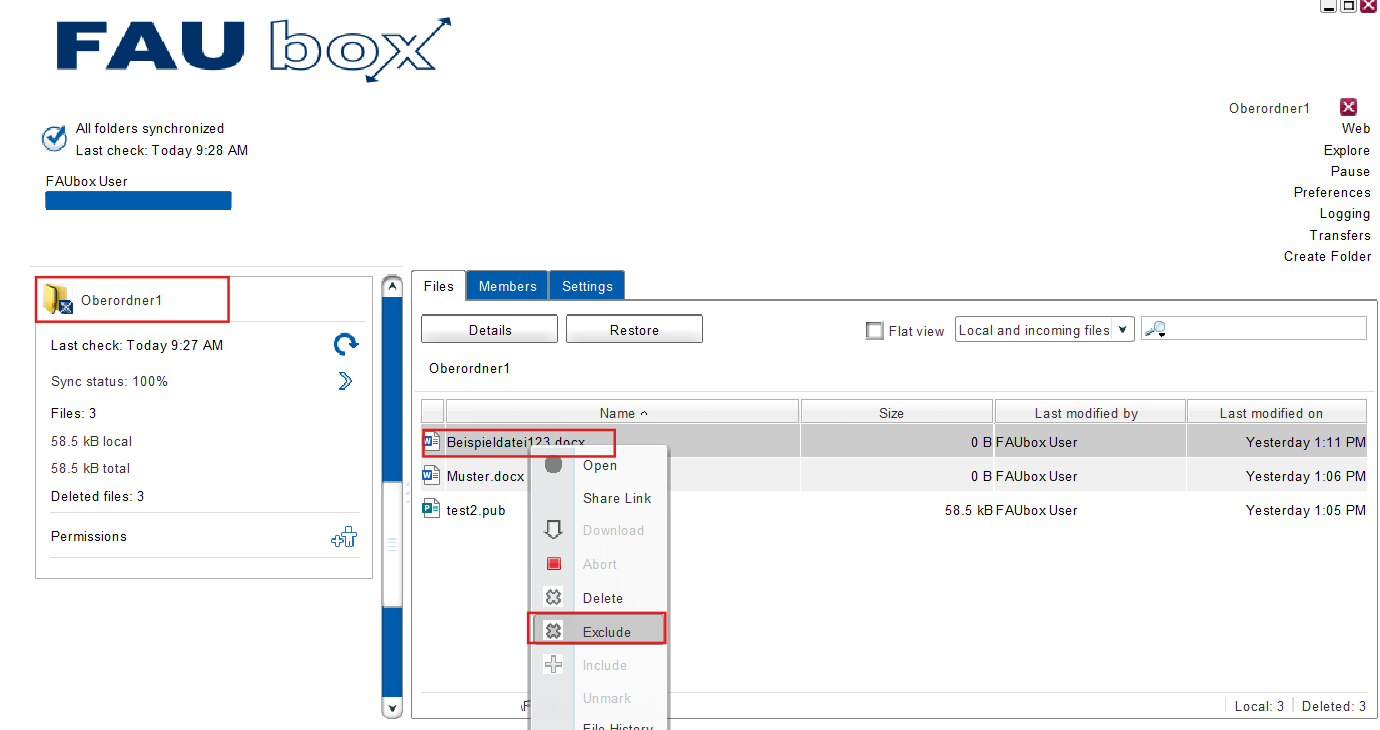
3. Right-click on the file/directory and select Exclude.
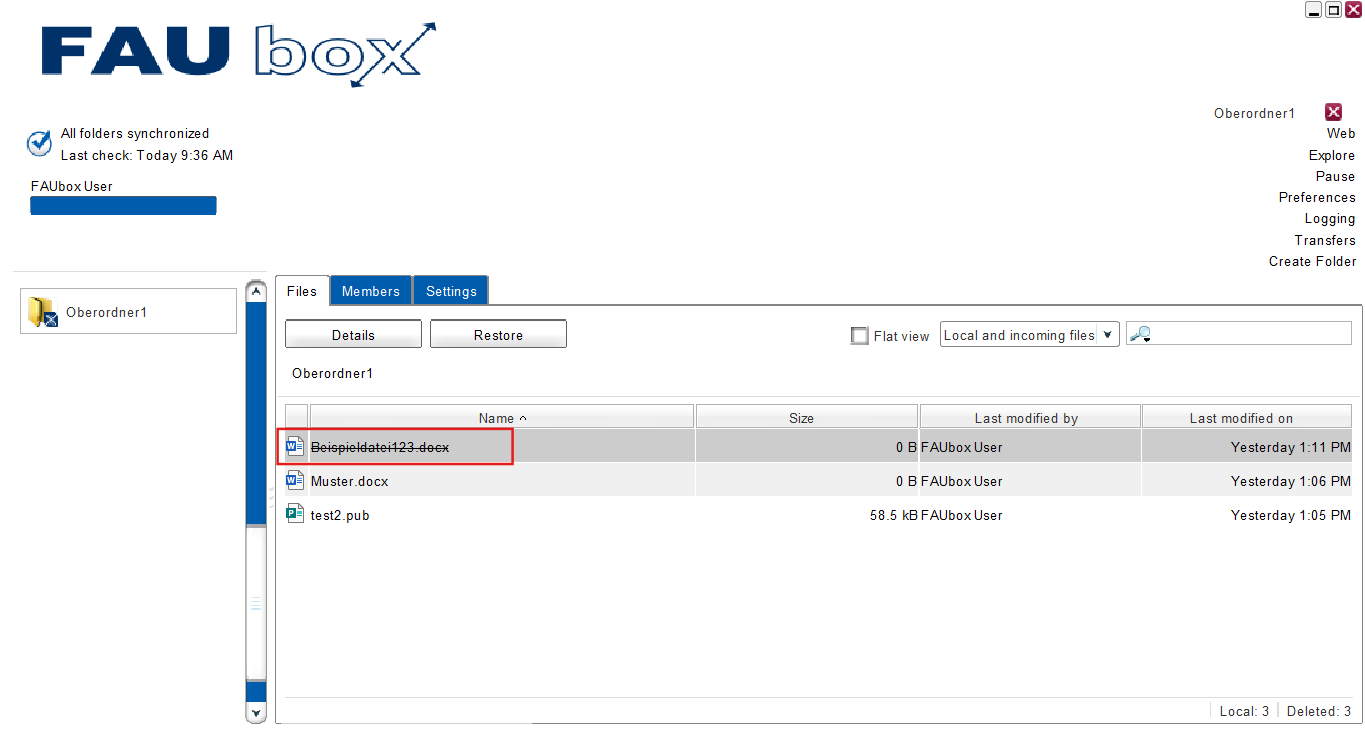
4. Done! The file/directory is now excluded from the synchronization and will appear as crossed out.
1.2 Excluding Files or Directories by editing the Exclusion List:
1. Click on the top-level folder, that contains the file/directory you want to exclude.
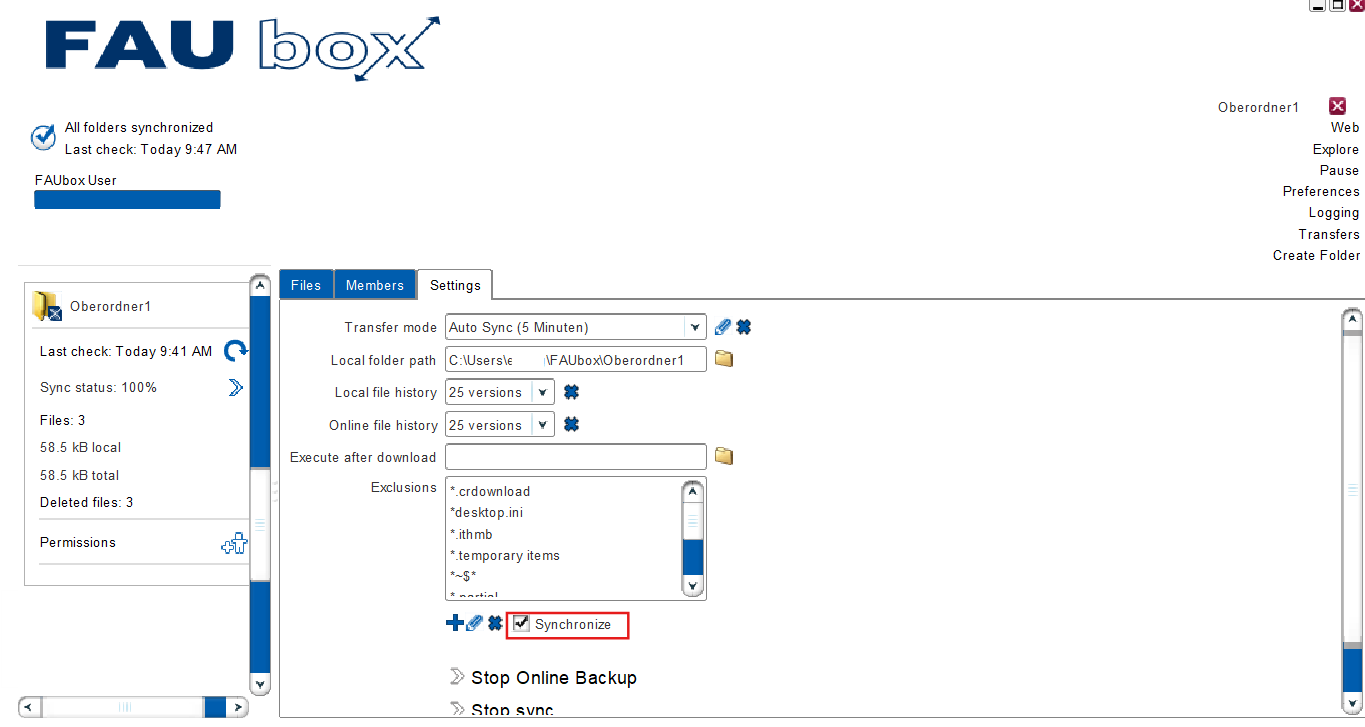
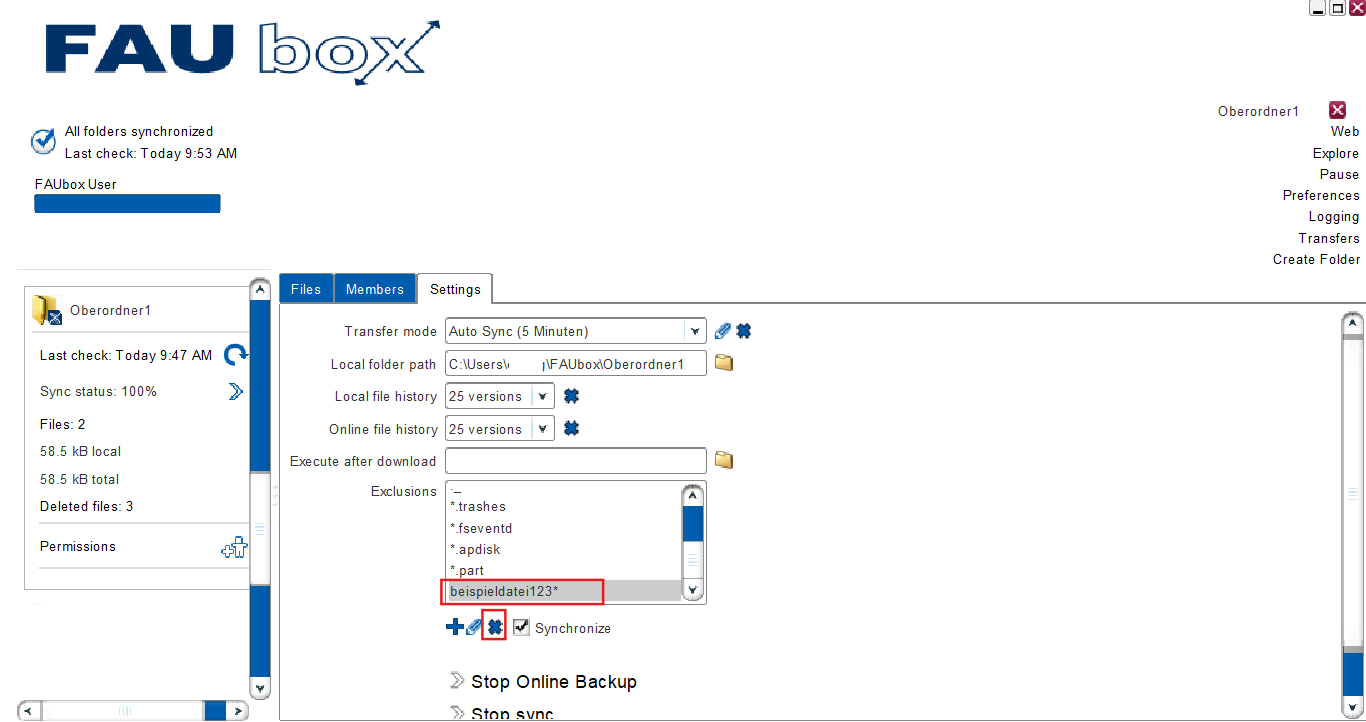
2. Open the tab Settings in the right panel that opens up.
3. Next, you have to add the file/directory to the exclusion list. In order to do that, you have to click on the plus-sign below the exclusion list.

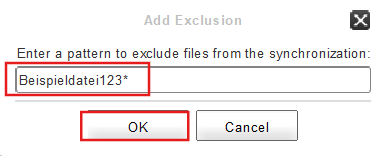
4. Enter the file/directory name. The exclusion patterns on the exclusion list is case-insensitive, meaning the client doesn’t differentiate if an exclusion contains upper- or lower-case characters. After entering the name, click on OK.
![]()
Do not forget to add a ‘ * ‘-sign to the name. Otherwise the file/directory won’t be excluded (in our example we have to enter beispieldatei123* ). A list of other exclusion-options and -examples can be found in the following text segment.
5. If you want excluded files/subfolders located in the top-level folder to only be excluded locally (meaning that only your client will no longer synchronize them), then remove the check mark next to Synchronize. By doing this, the excluded files/folders will remain in their lastly saved state in your client whereas they will still be synchronized on other clients and shown in the web interface. This option could be useful if the top-level folder has more than one member and you want to prevent a file from being changed while you still need it.
6. Done! The file/directory is now excluded from the synchronization and will appear as crossed out.
Excluding files and directories on Windows-based operating systems
Windows uses the ‘\’ – character (backslash) to separate paths. Our client internally converts them into cross-platform-compatible ‘/’ – characters (slash). It will correctly exclude files and paths that contain backslashes and/or normal slashes. However the exclusion list in the user interface will always display a ‘/’ (slash), even on Windows systems.
Examples for exclusion patterns
Exclude the file nosync.txt:
nosync.txt
Exclude all files starting with nosync:
nosync*
Exclude all files containing the word nosync:
*nosync*
Exclude all files with a .png extension in ALL sub-directories:
*/*.png
Exclude all files with a .png extension in the folder’s root directory only:
*.png
Exclude the sub-directory nosync and all files located in the sub-directory:
nosync/*
Exclude all files in ANY sub-directory called nosync:
*/nosync*
2. Reincluding Files or Directories:
1. Click on the toplevel folder containing the file/directory that you want to include in the synchronization again.
2. Search for the file/directory which you want to include in the tab Files.
3. Right-click on the file/directory and select Include.
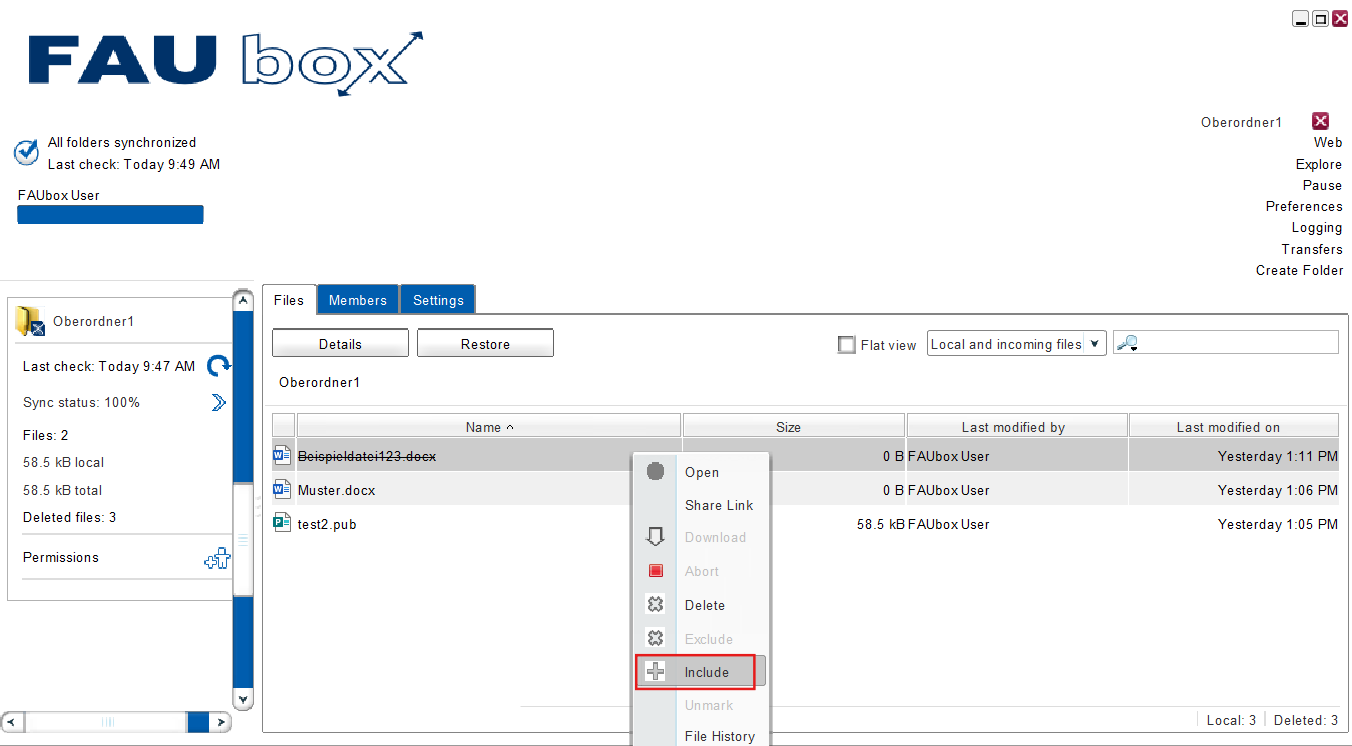
4. Done! The file/directory is now included in the synchronization once again and will no longer appear as crossed out.
OR:
1. Click on the top-level folder containing the file/directory that you want to include in the synchronization again.
2. Open the tab Settings in the right panel that opens up.
3. Next you have to search for the file/directory in the exclusion list. Select the name and click on the x-sign below the exclusion list.
4. Done! The file/directory is now included in the synchronization once again and will no longer appear as crossed out.