Creating an Upload-Form
By creating an upload form the user enables other users to upload data into his folder without having to add them as folder-members. Once uploaded, the data will be accessible to the owner of the upload-form as well as to all folder members. Upload forms can currently only be created for top-level folders (parent folders).
To create an upload form:
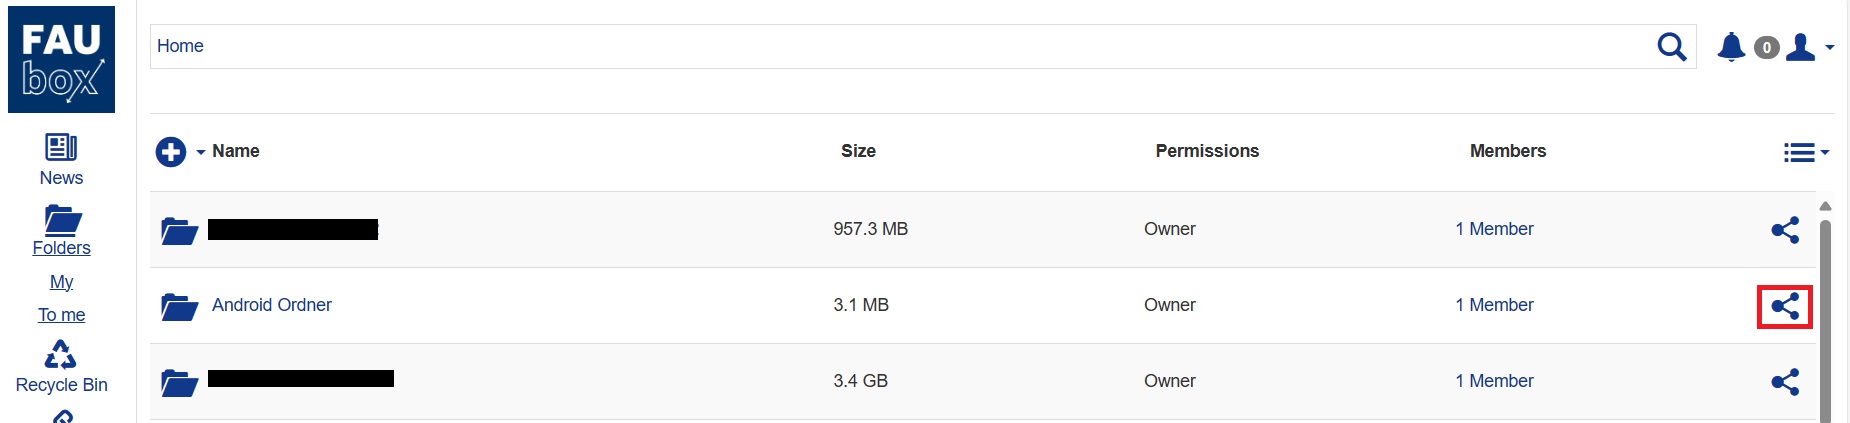
1. The upload form can be created using the button for sharing folders:
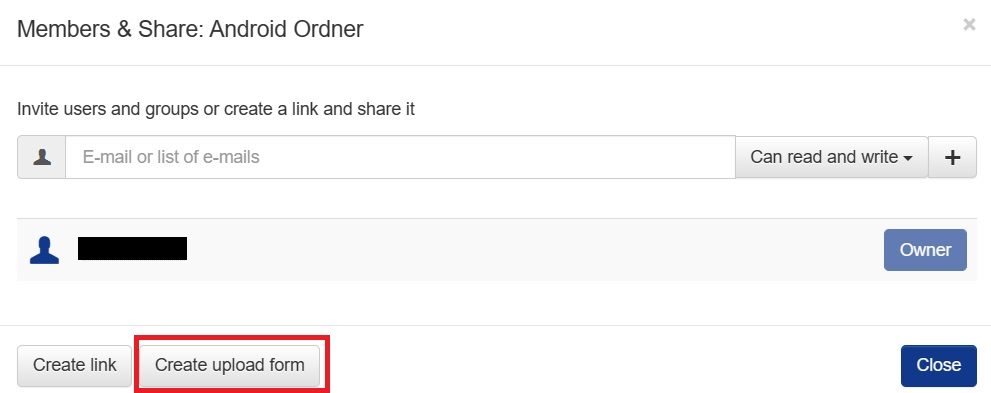
2. After selecting the Share button, you have to select the option Create upload form:
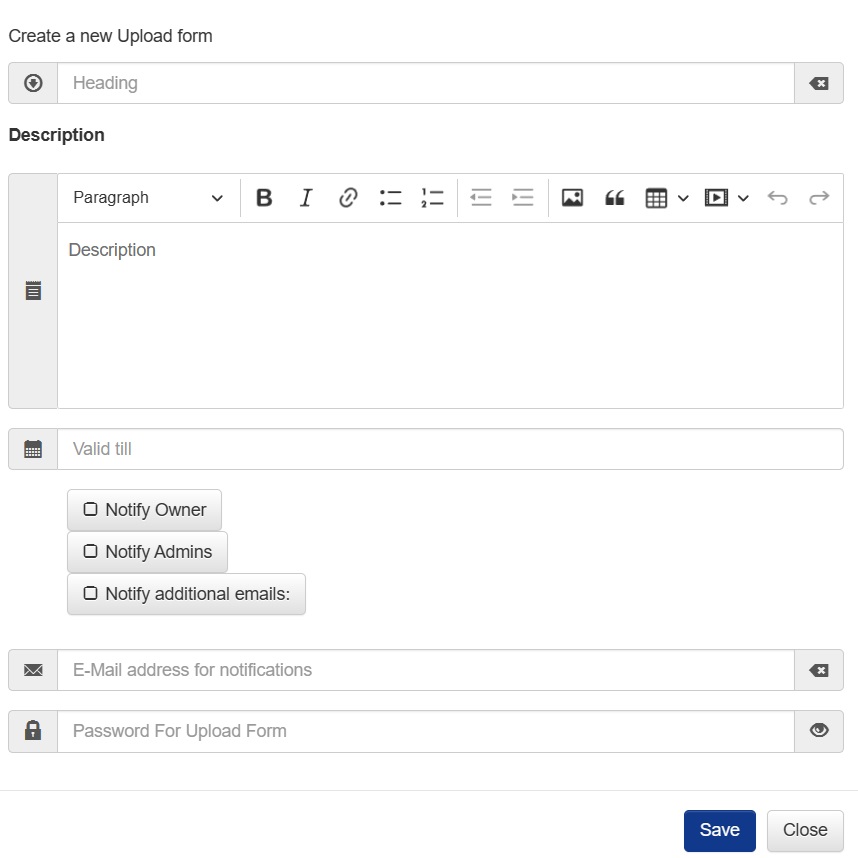
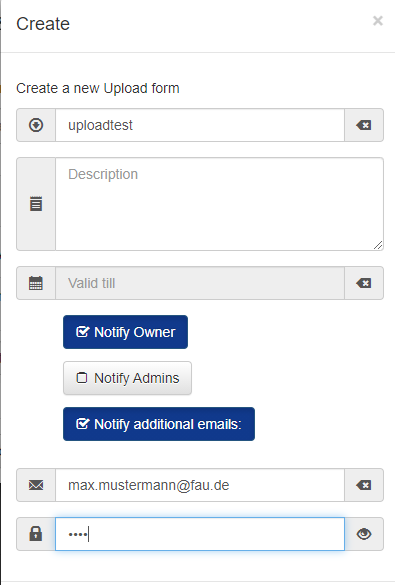
3. Afterwards, another window will open up asking you to enter more information.
Not only can you add a name and a description to the upload form but also set an expiration date. Furthermore you (as the owner of the upload form) can choose whether you want to be informed about any upload via mail. In case you do want to receive a notification, you have to select the option Notify Owner. If you want the group admins to be informed as well, you have to additionally select Notify Admins while the option Notify additional emails offers to inform another person regardless of his permission or membership to your folder. To do that you have to select the last option and enter the e-mail-adress of the person in the input field beneath. You can also further secure your upload form by adding a password.
Once finished with entering all the information you have to click on Save.
The form could be filled out like this for example:
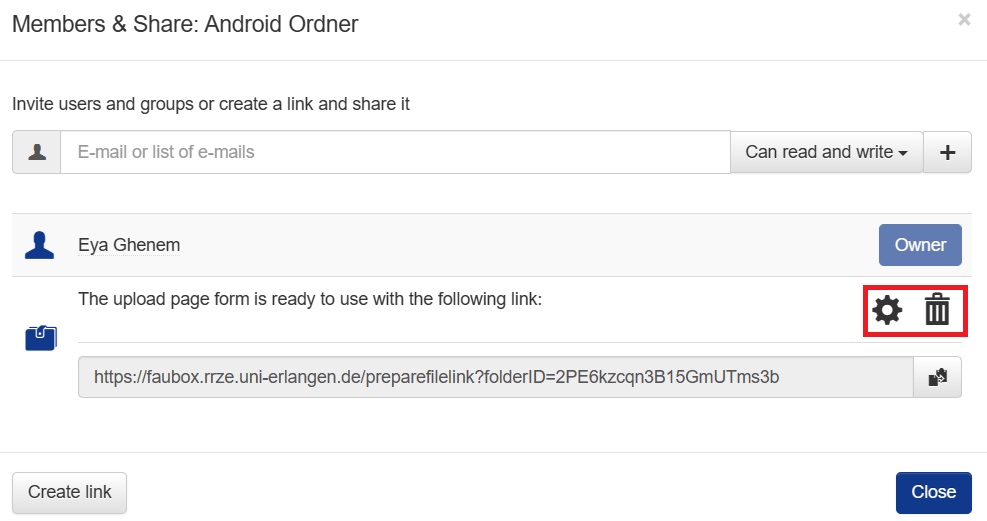
4. After saving the fields, the upload form is created and is shown in the share dialogue of the folder:
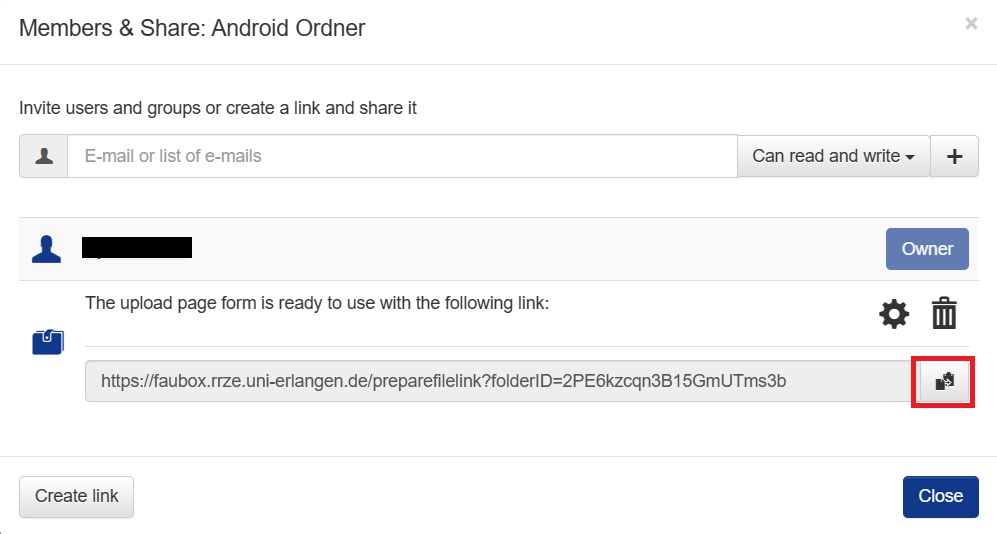
The user can now copy the link and make it available to other people together with the password. The upload form can be then used indefinitely by them until it is either expired or deleted by the owner of the form.
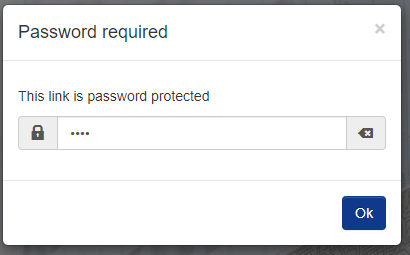
5. After entering the link into a browser, any person wanting to upload data via the upload form will be asked for a password (in case the upload form is secured with a password).
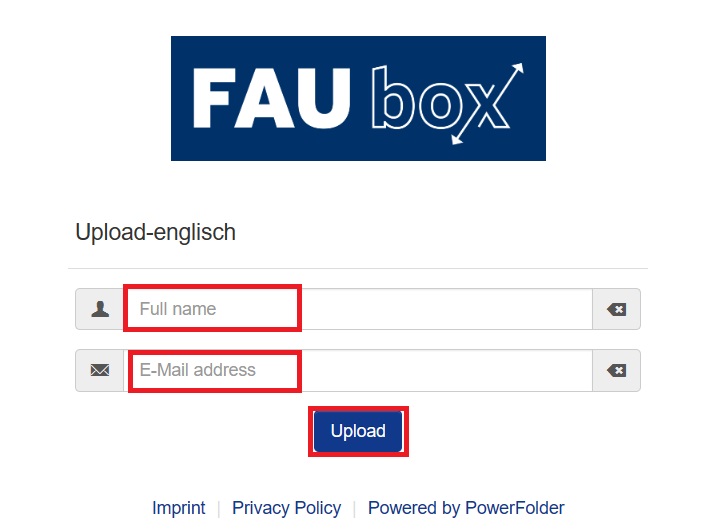
6. After entering the password, you will be redirected to another form asking for information (subfolder-name and an e-mail-adress) that can identify your data. Once the form is filled out, click on Upload.
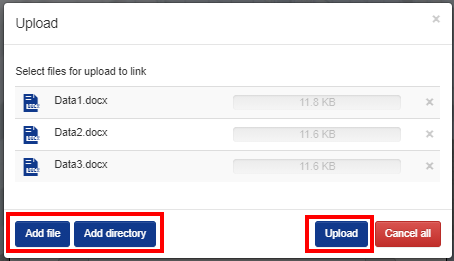
6. Another page will open up and you can finally add the data you want to upload. Click on Add file or Add directory to search for the file or directory in your file system or add the data you want to upload via drag and drop to the page. Afterwards click on Upload.
7. You will be asked whether you really want to upload the data and trust the FAUbox. Confirm your choice.
8. After you click on Upload, the data will be uploaded. Click on Close to close the window.
9. Once the Upload is finished, a new subfolder will appear within the toplevel-folder the upload form was created for. This subfolder is named as chosen in step 5 and contains all the data that was uploaded by that certain user. Furthermore, the owner of the upload form will receive a notification via mail informing him about the upload (as long as he entered an e-mail-adress in step 3) while the person who uploaded the data will receive an e-mail confirming the successful upload.
To change or delete an Upload Form:
In order to change or delete an upload form you have to open up the share dialogue of the toplevel-folder (see step 1 above). Afterwards, you have to click on Settings (if you want to change the settings of the upload form) or Remove (in case you want to delete the upload form and not longer enable other people to upload data into your toplevel-folder).