Sharing top-level folders
Whenever you want to share a toplevel folder via the app, you have to click on its respective share sign. There is both a share sign on the right of the folder name as well as on the bottom menu bar within the top-level folder. You can freely choose which of them you want to select since they offer the exact same options.
1. To invite a user/a group to the folder:
1. Click on the share sign of the respective toplevel folder you want to invite a user/a group to.
2. Click on Members.
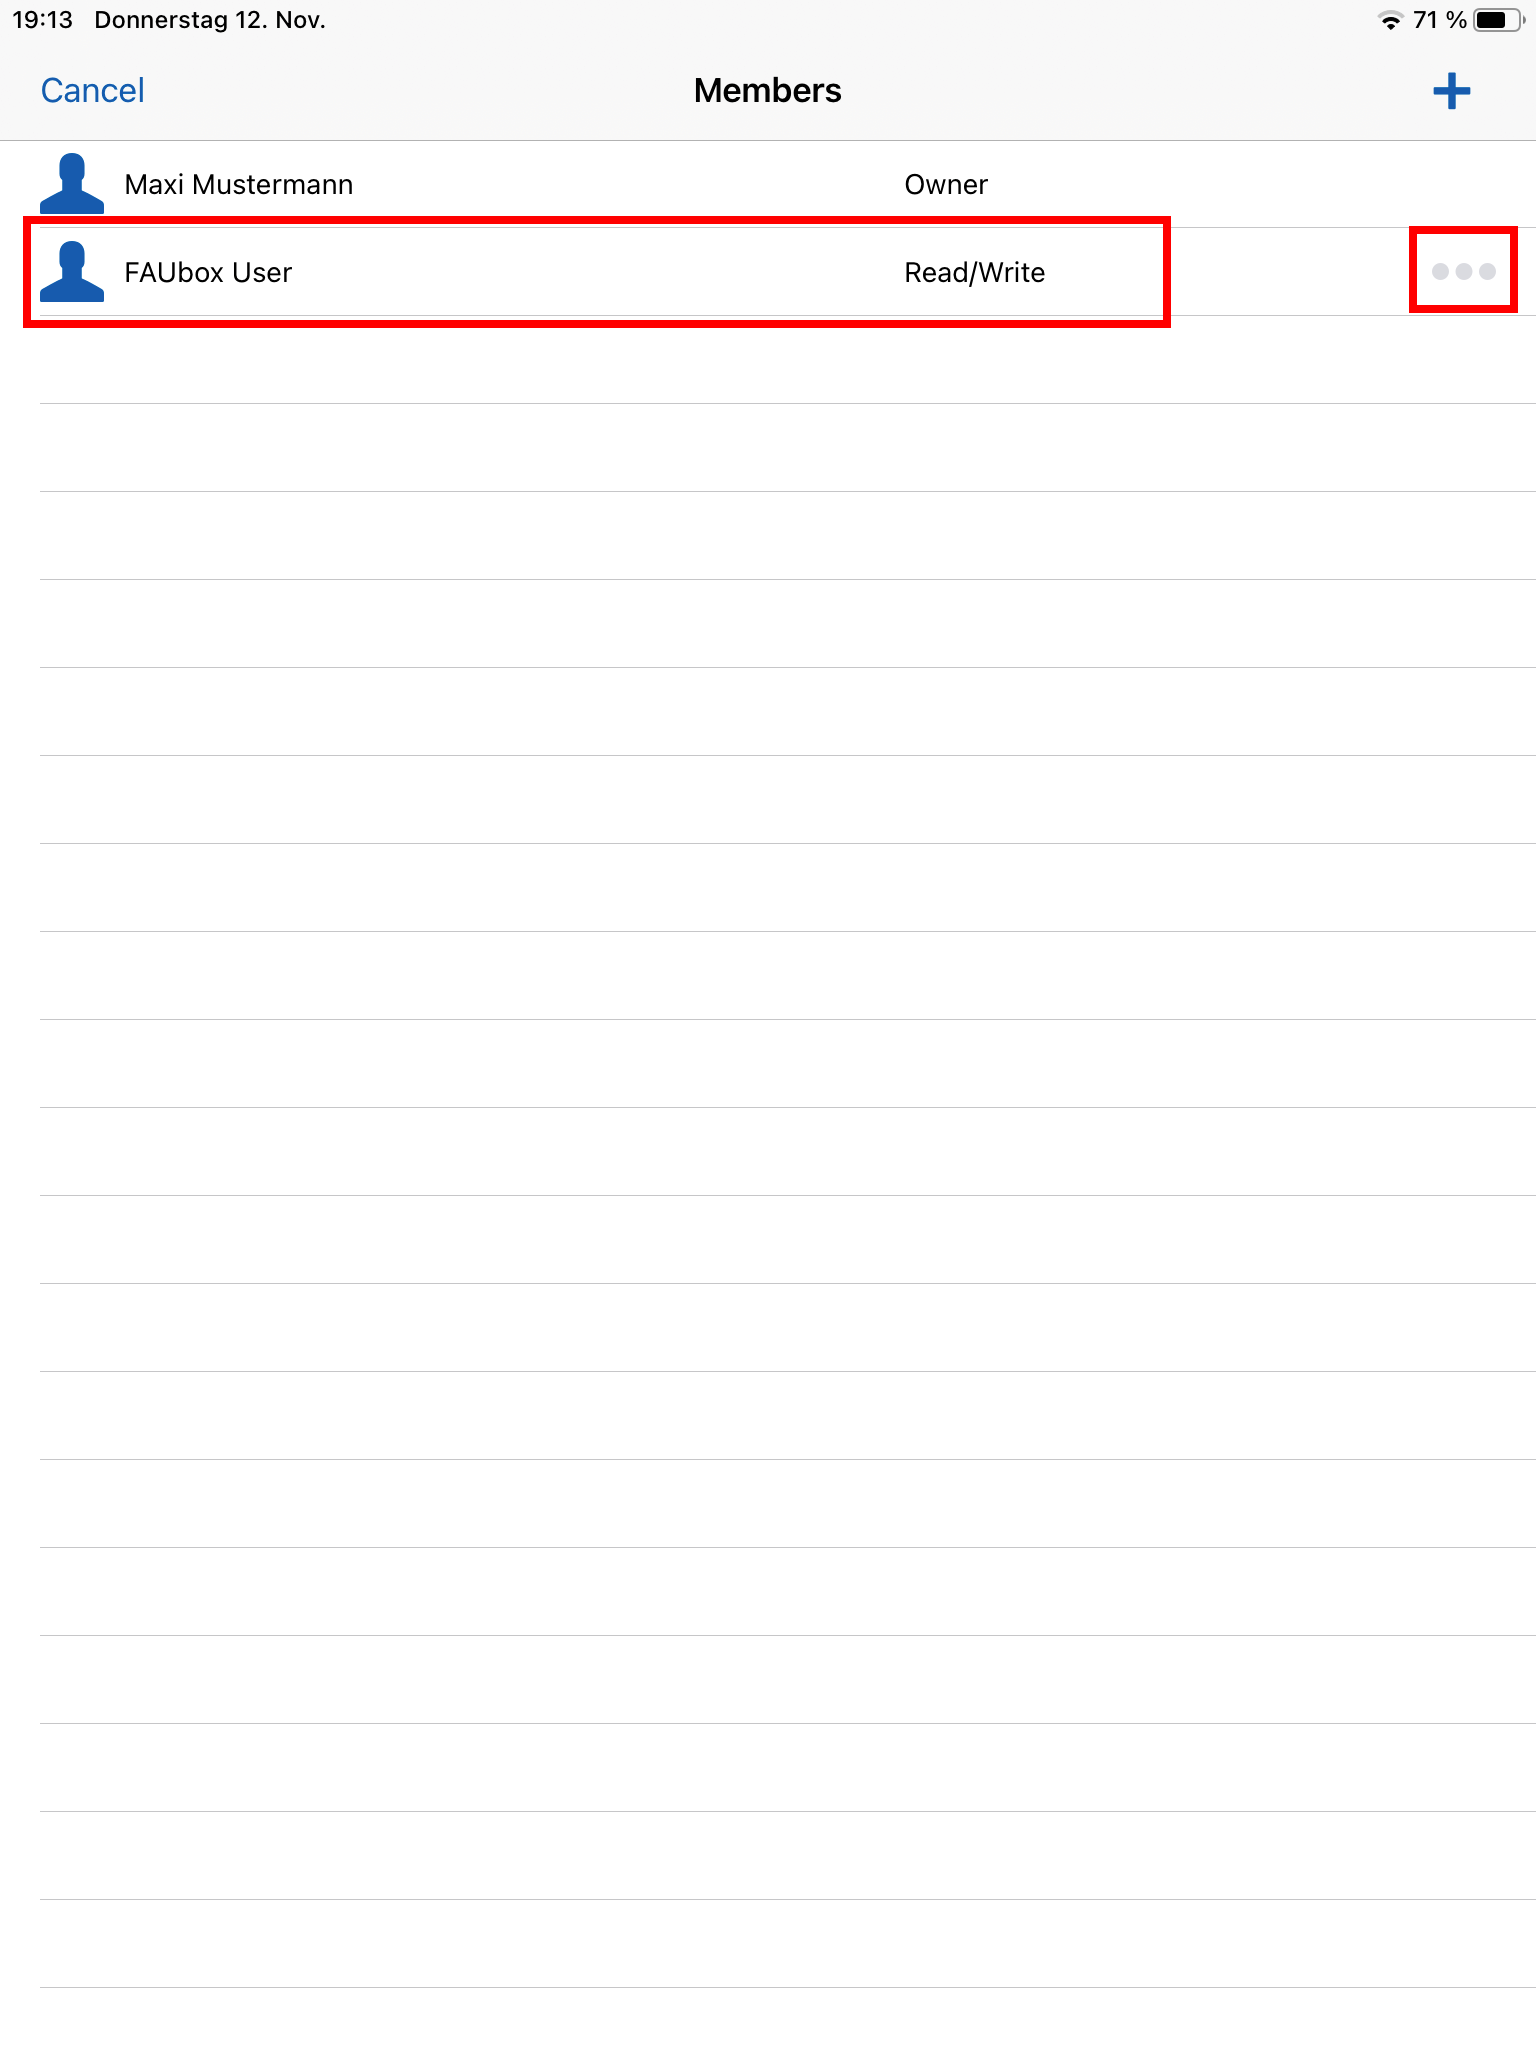
3. The member list will open up next.
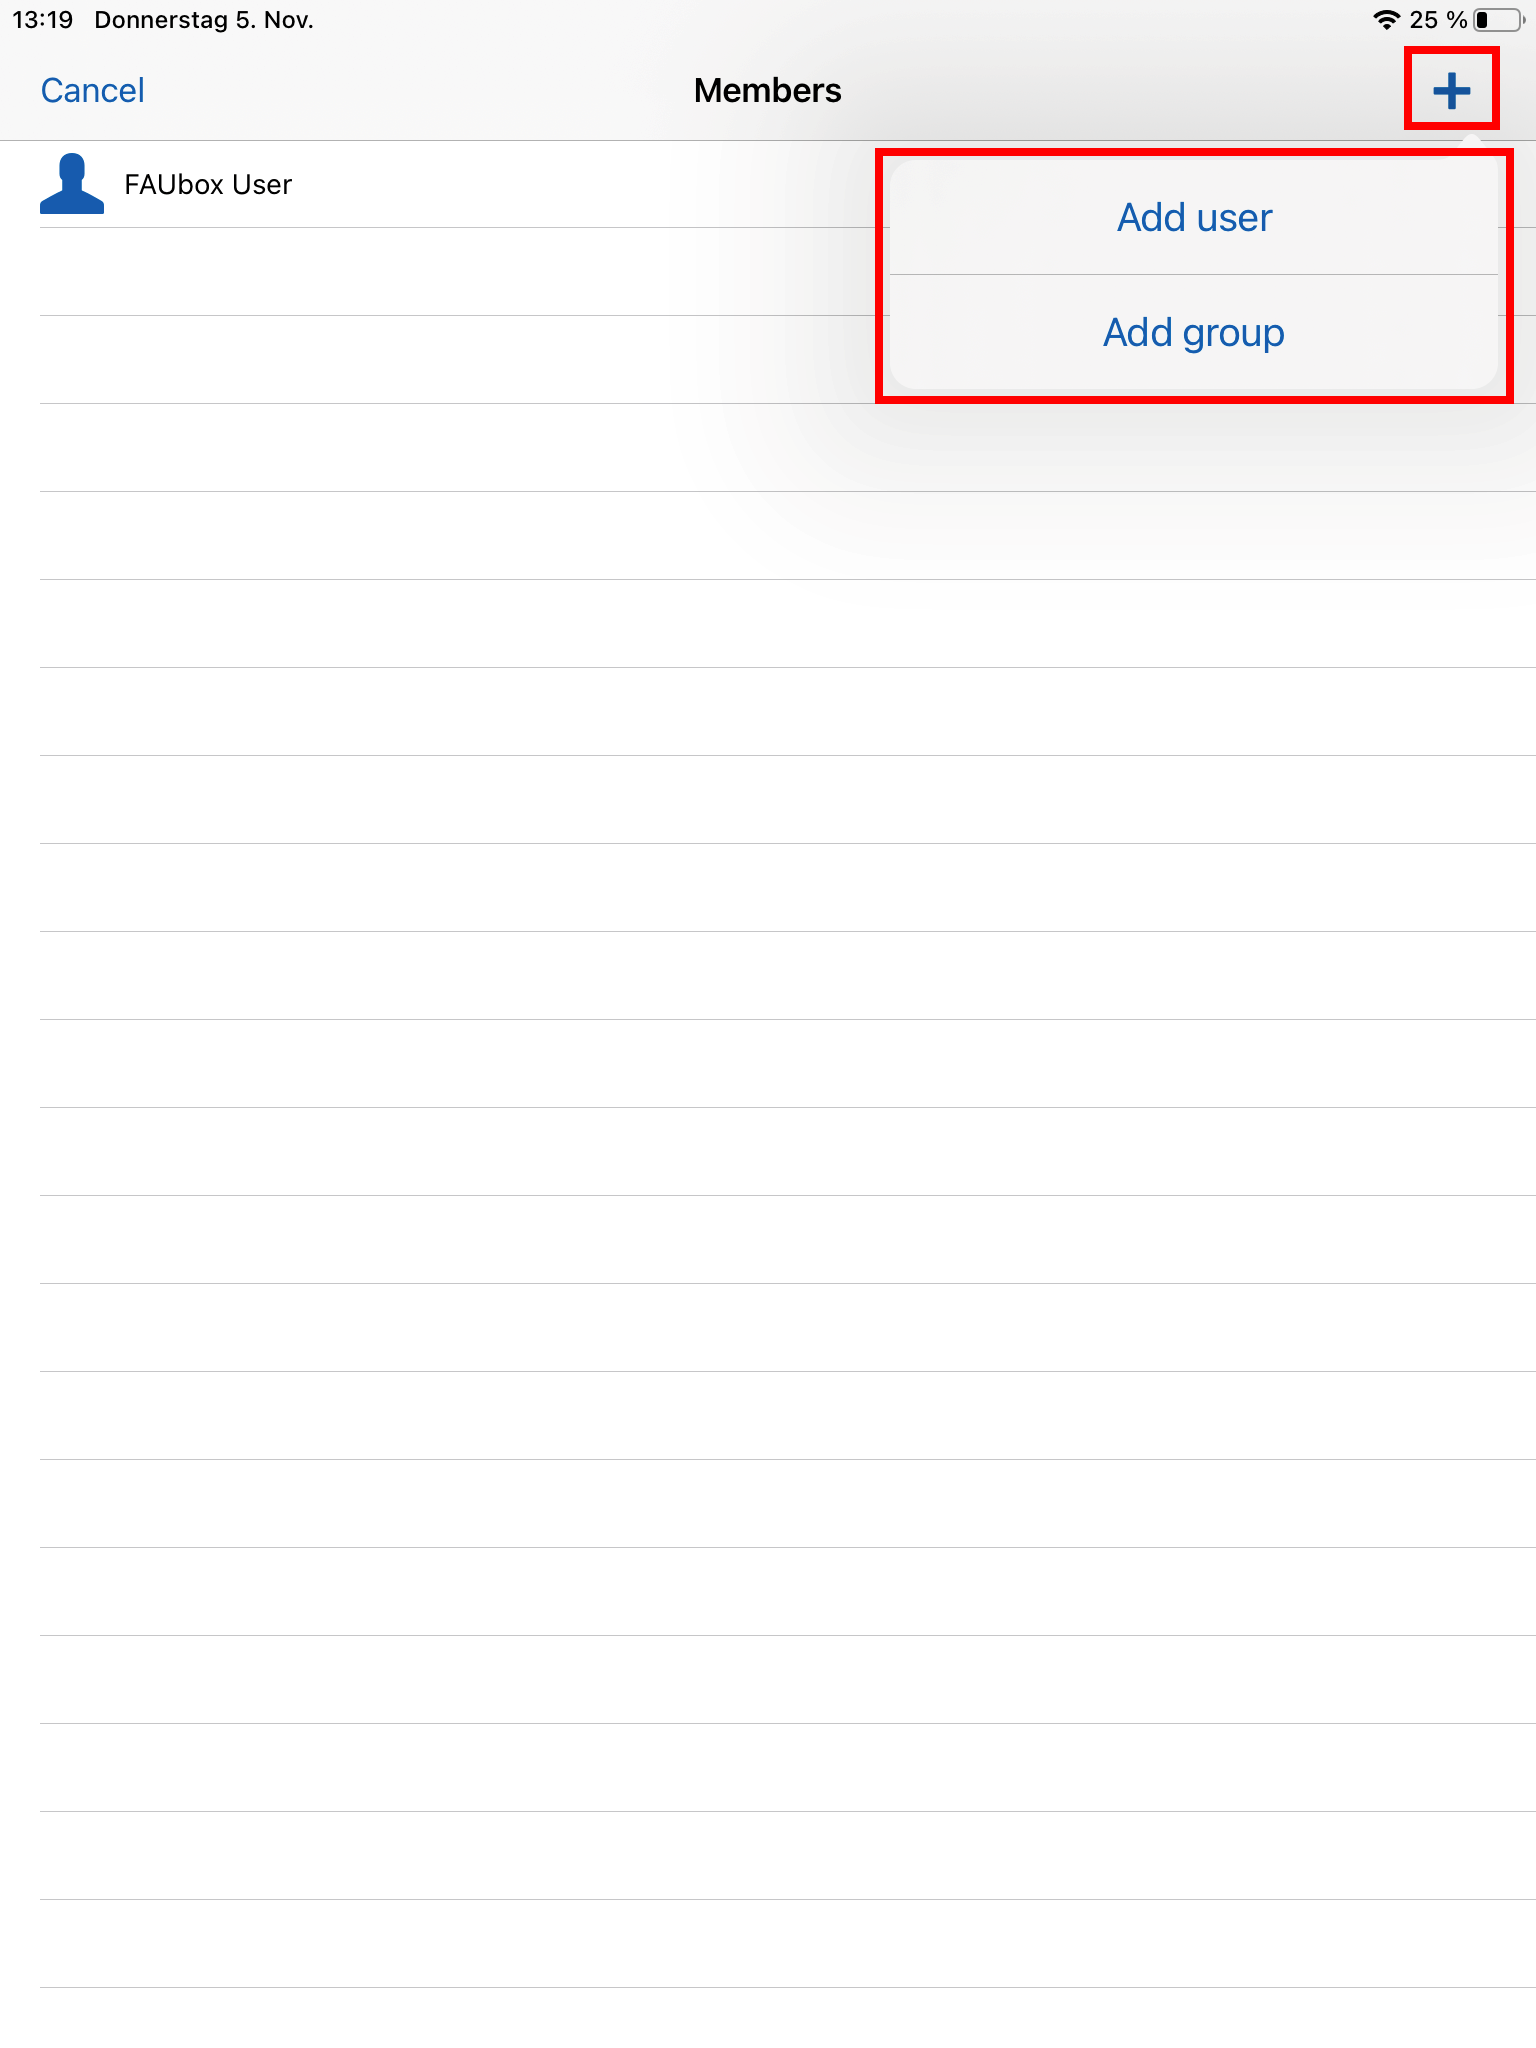
4. Click in the plus sign in the upper right corner.
5. After clicking on the plus sign, the options Add user and Add group will be appear.
5.1 If you choose the option Add user, then the following form will open:
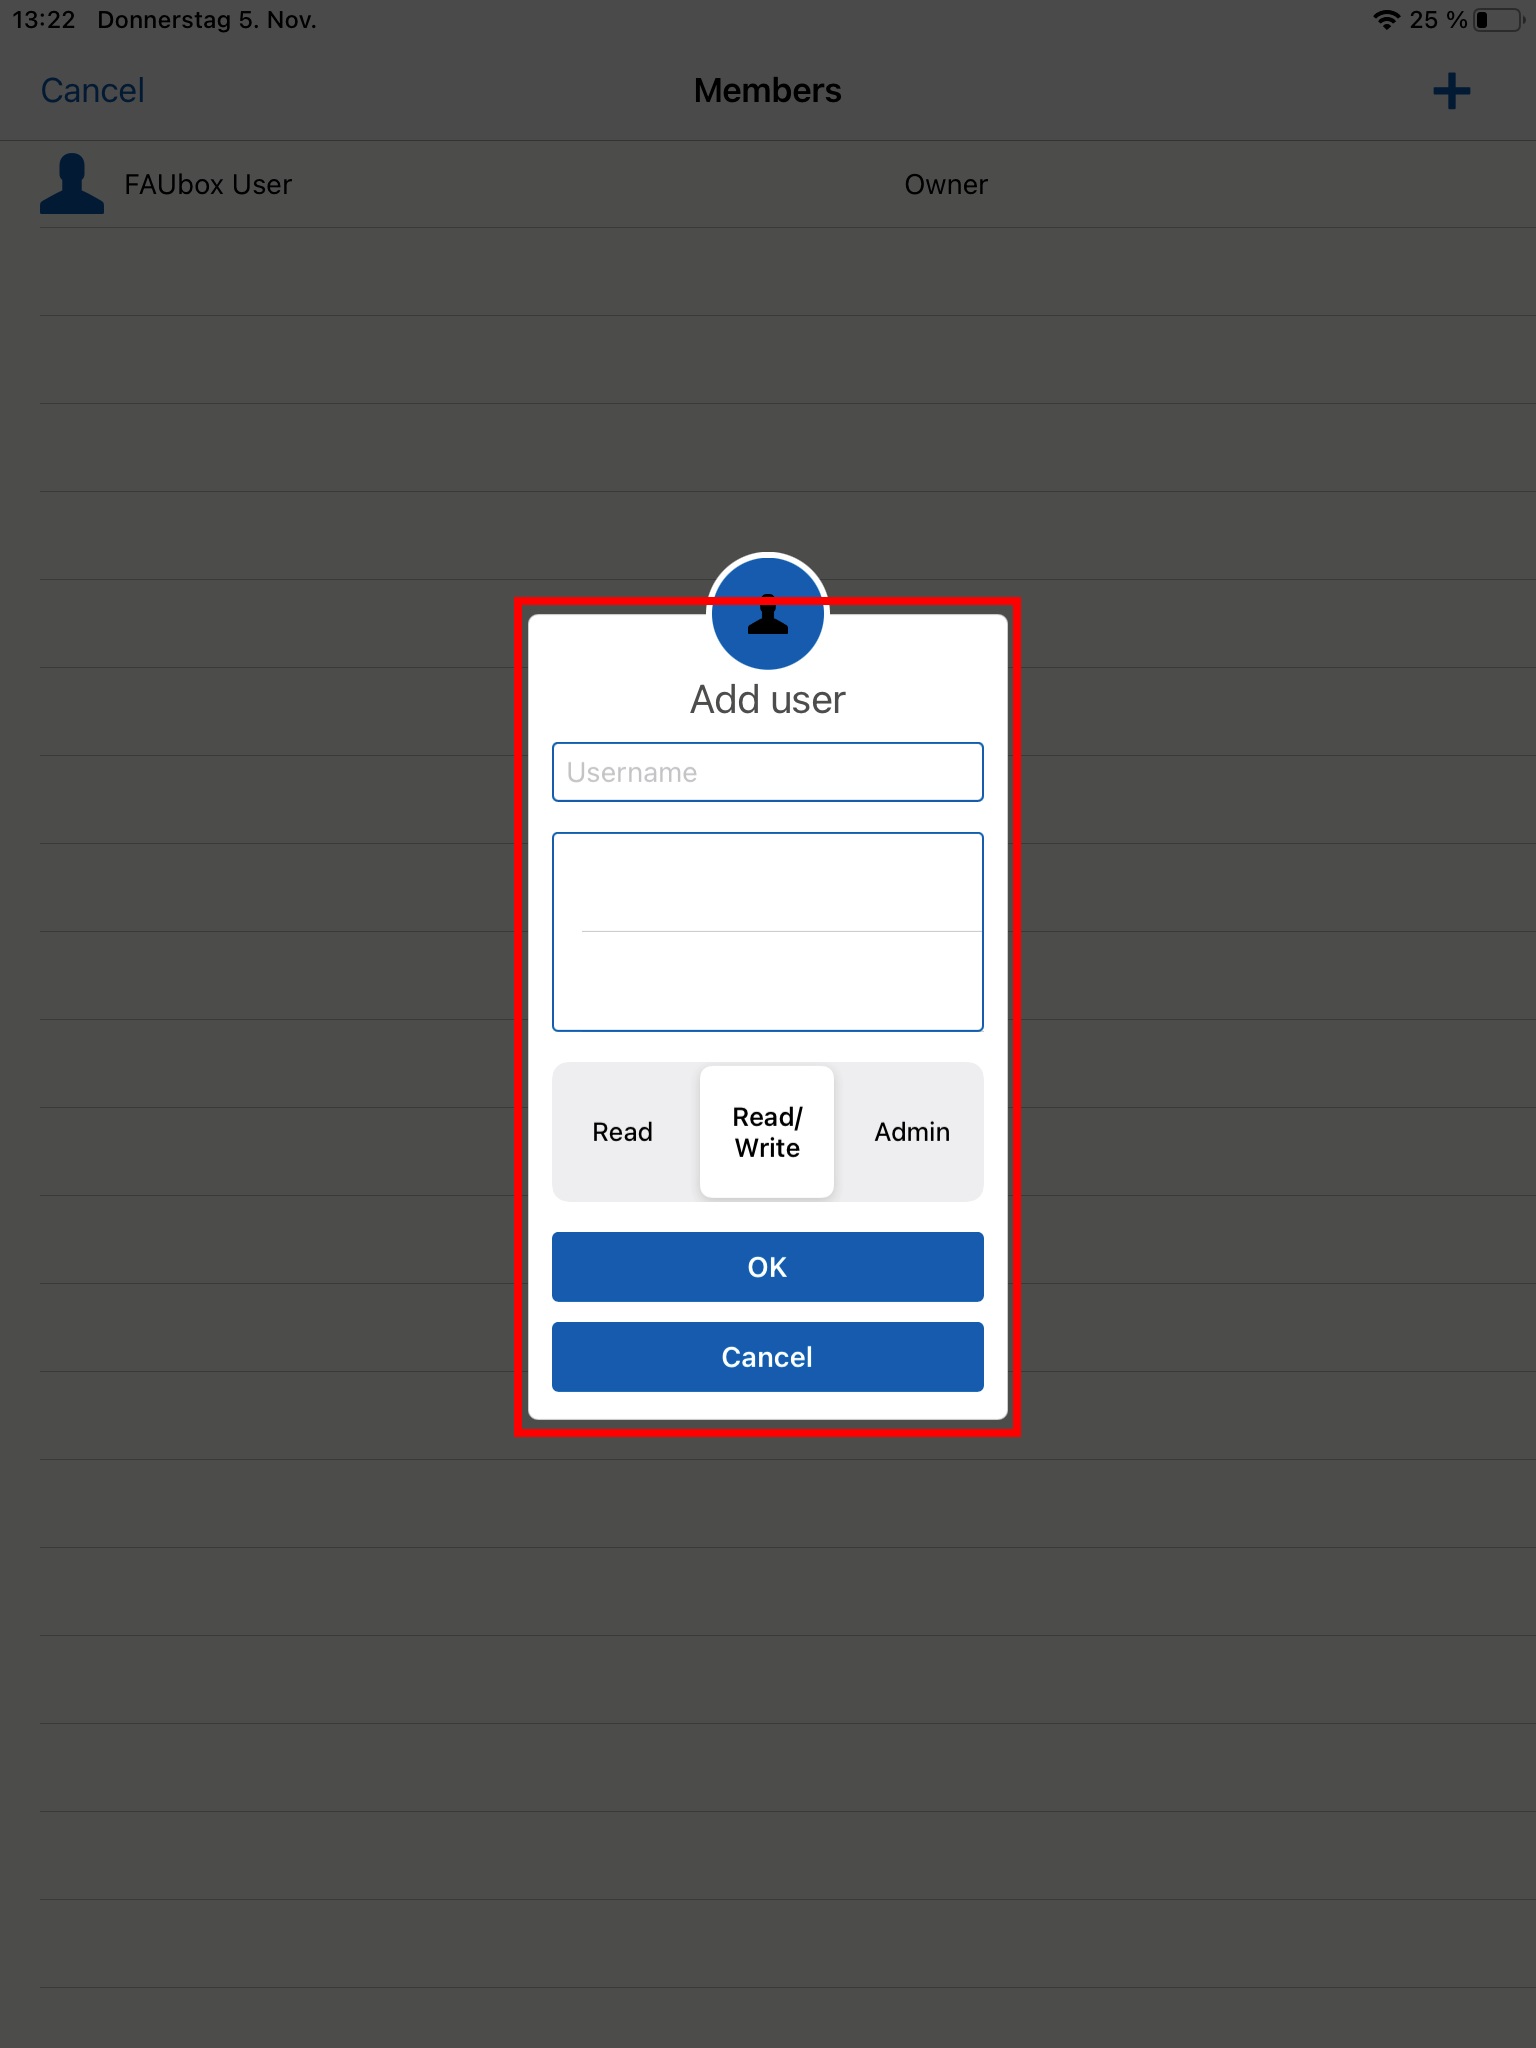
Now you have to enter the username or IdM Identification of the user that you want to invite to the folder in the upper field. As soon as you start typing, the field beneath will suggest users and you have to select the right one. Proceed by selecting the permission that you want to give to the user and click OK.
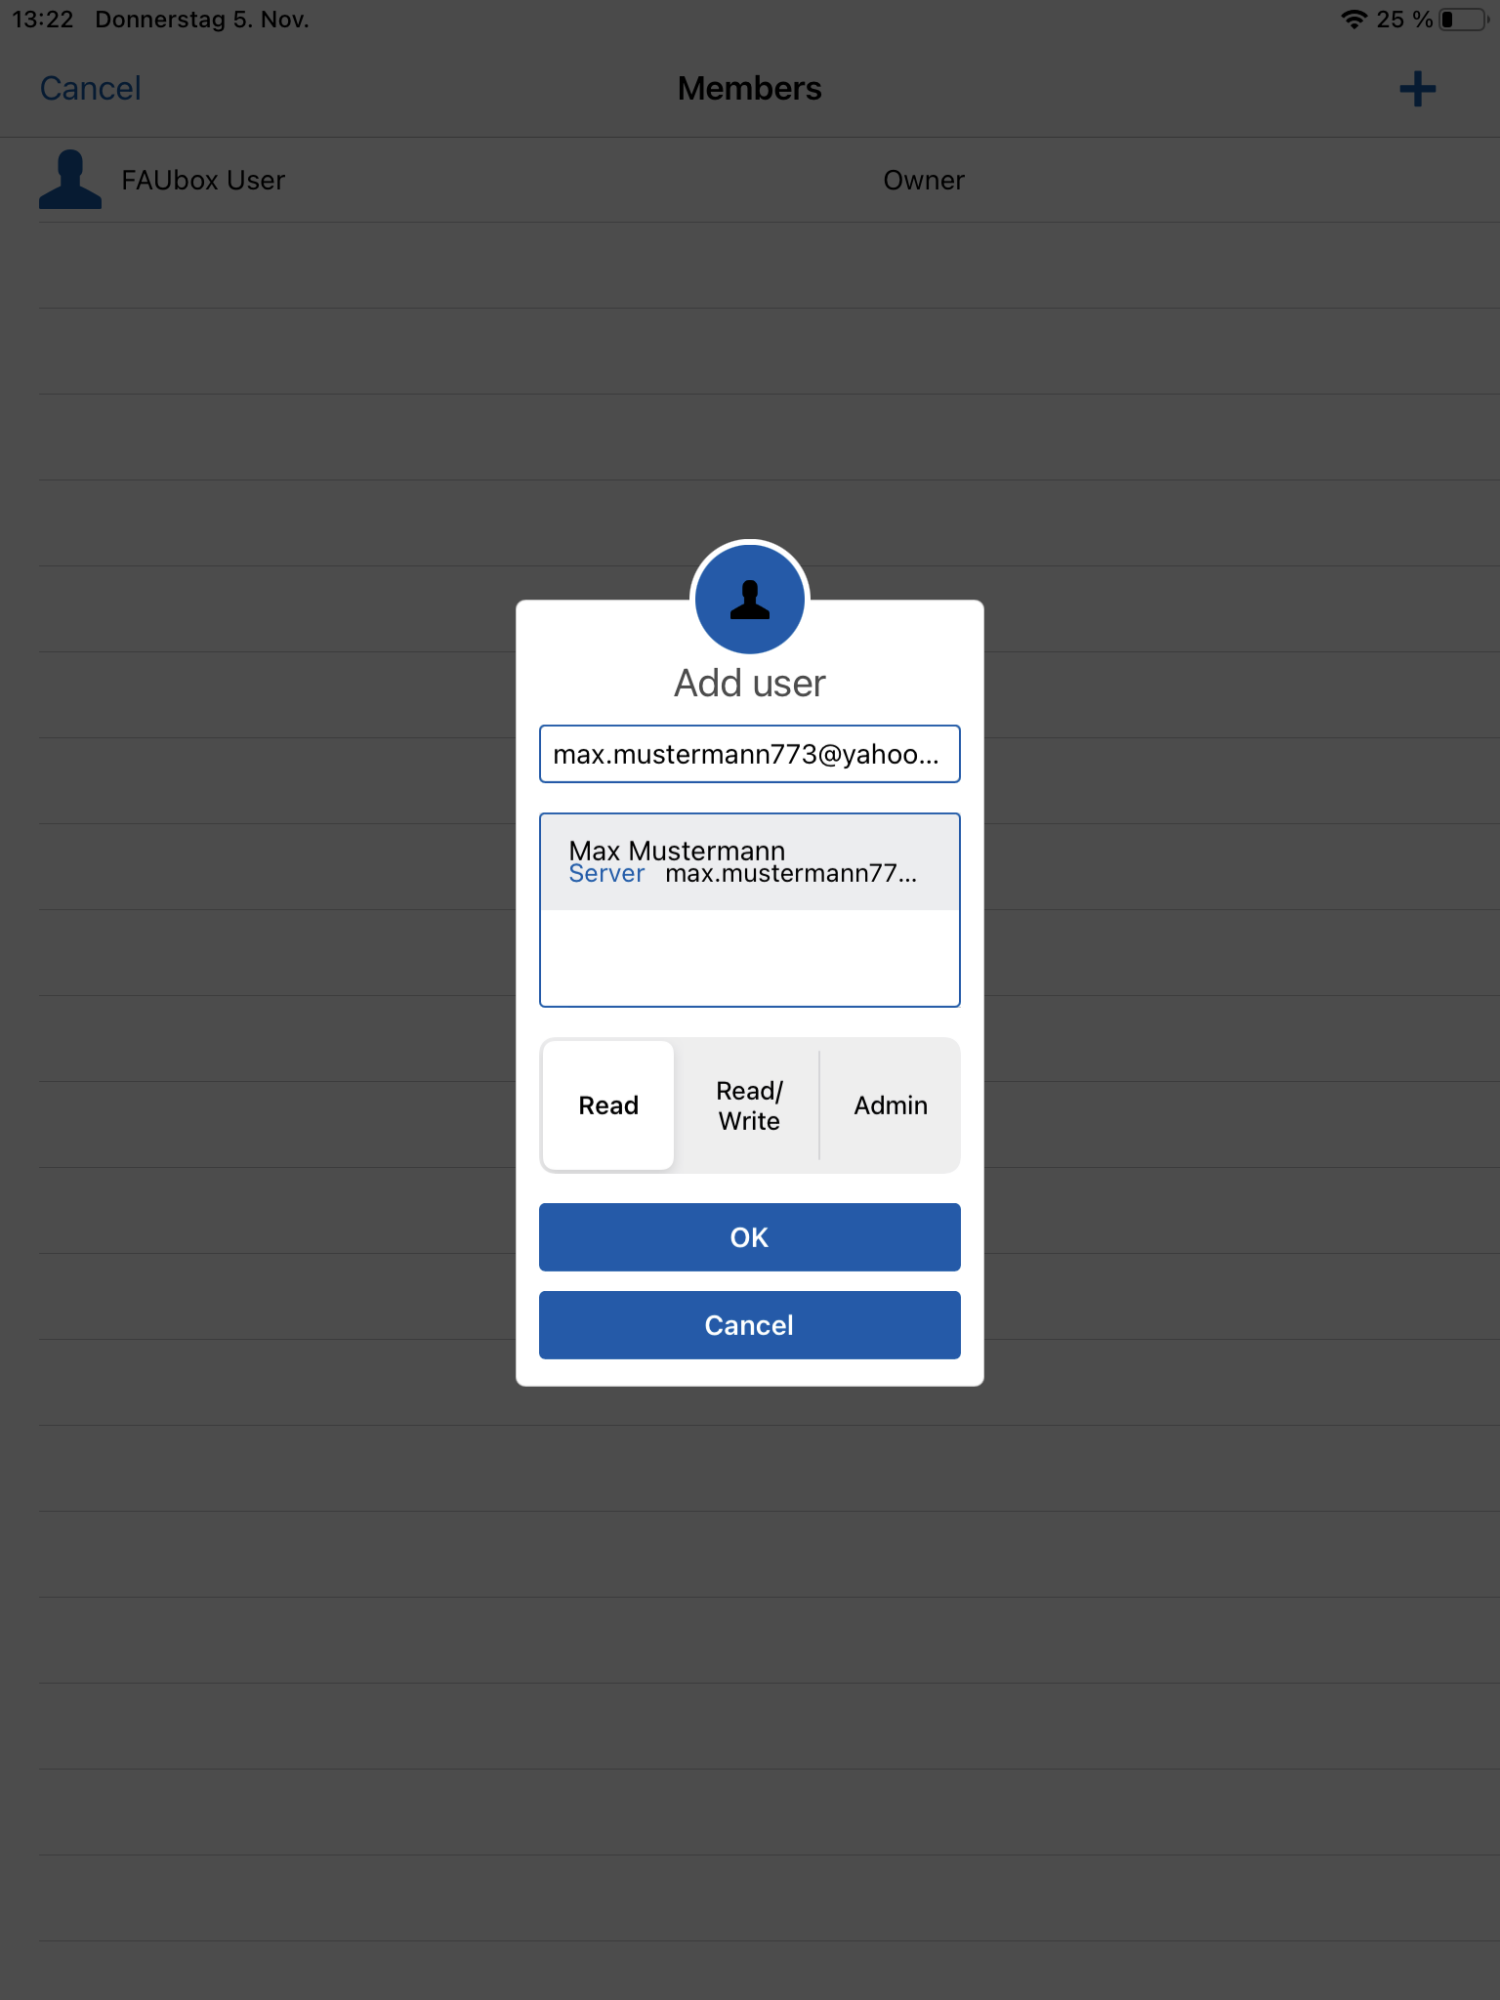
Once you have clicked OK the invitation will be sent to the user. Once he accepted the invitation, the member will appear in the member list of the folder.
5.2 If you select the option Add group, then the following form will appear:
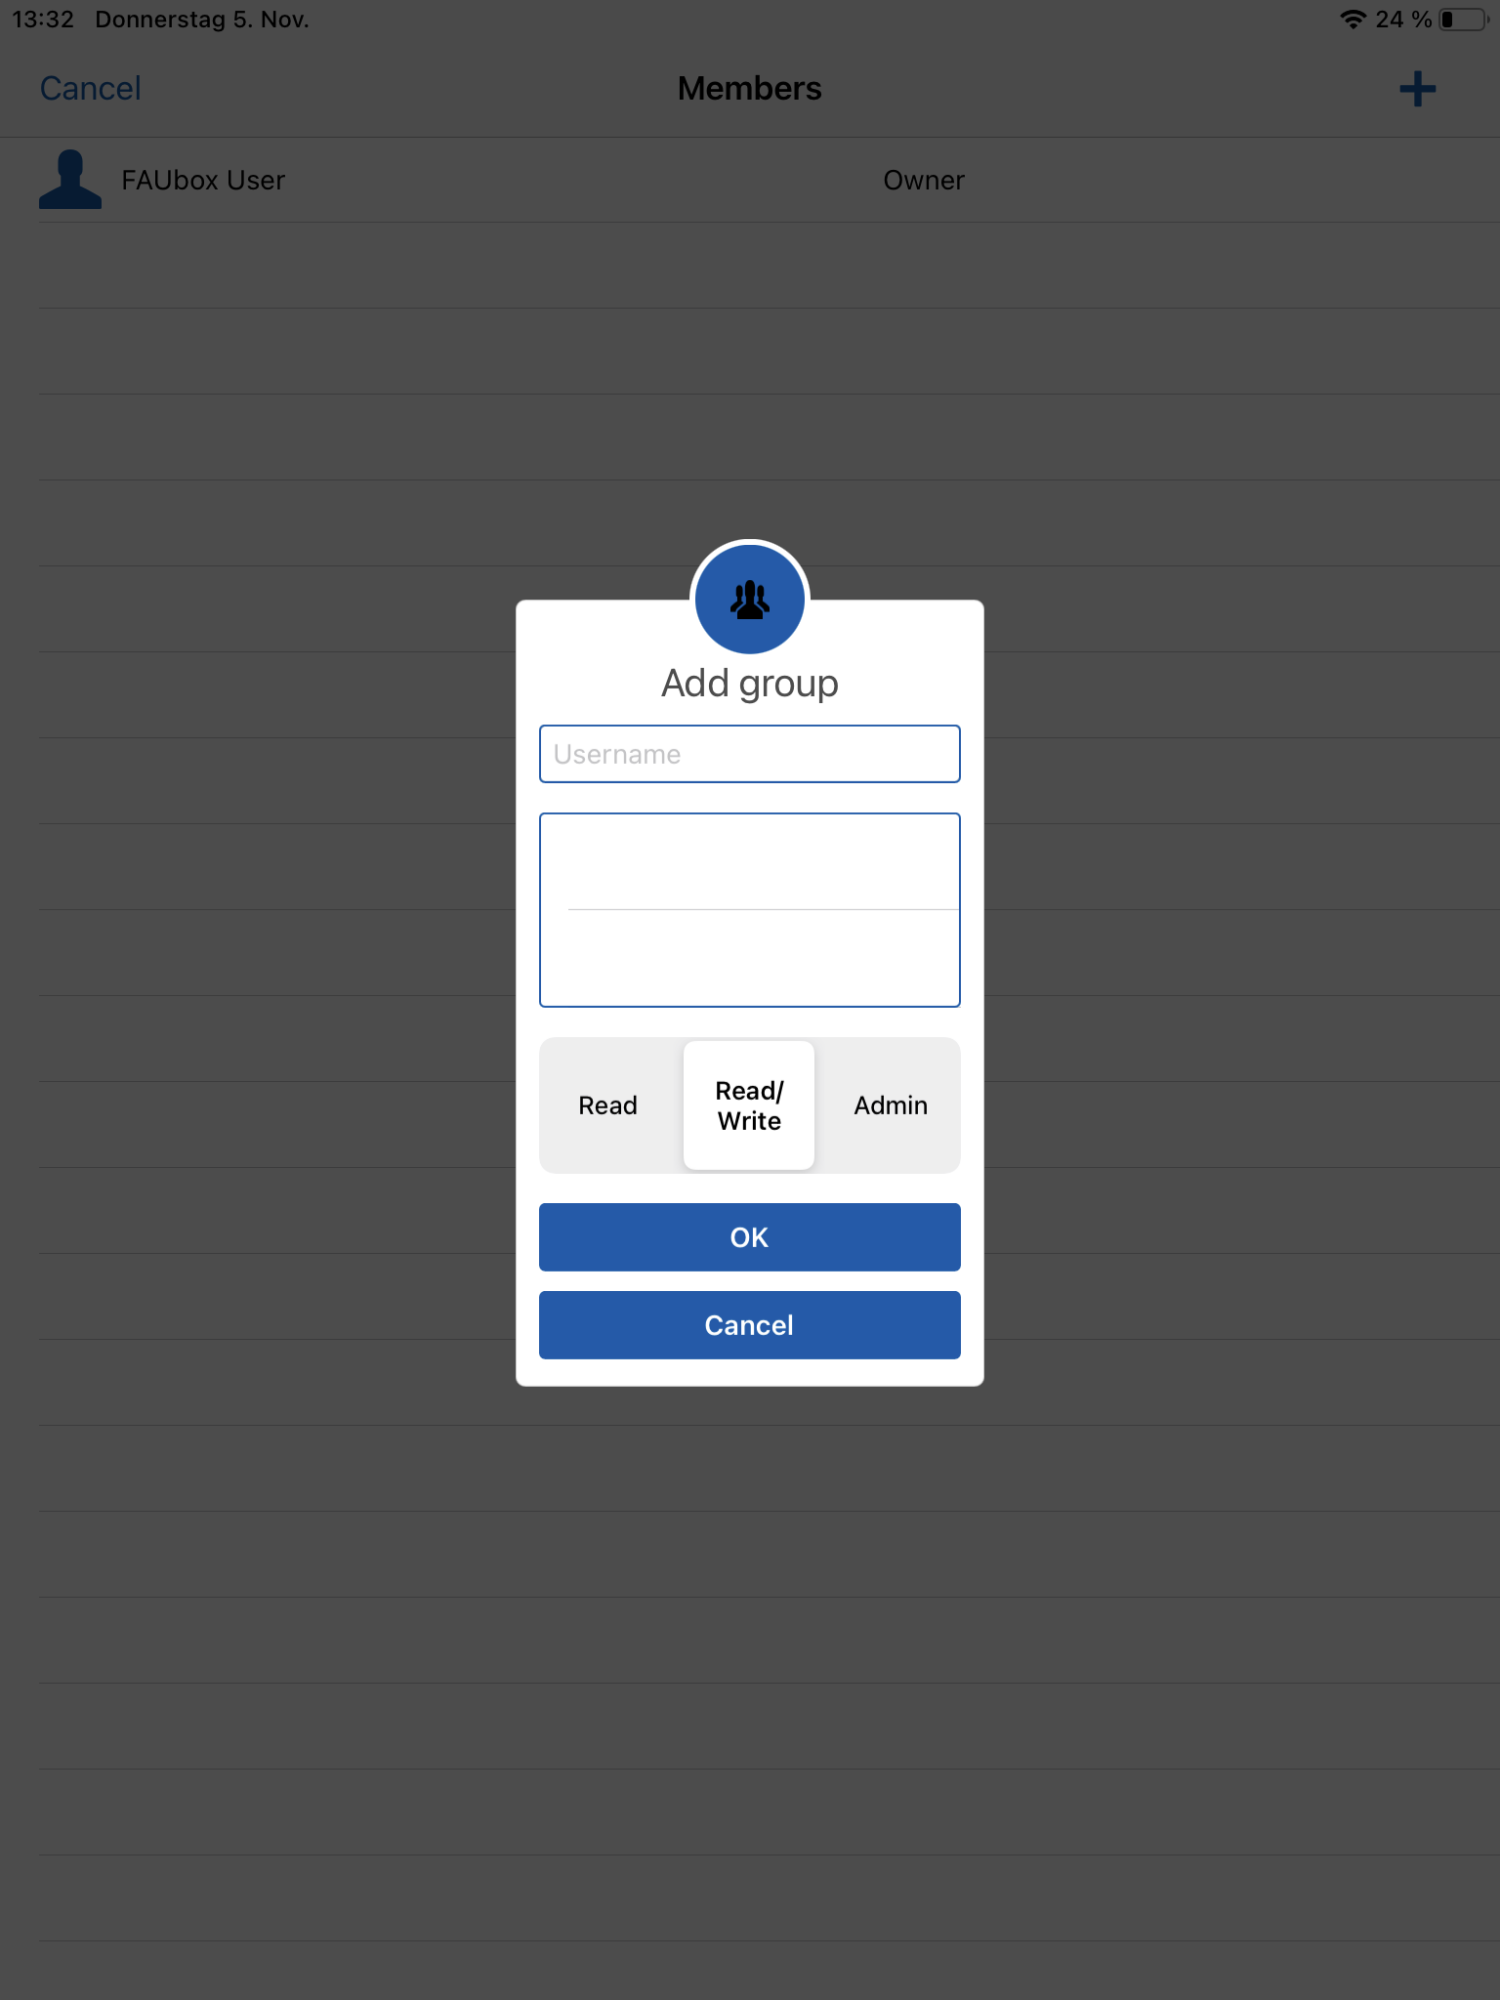
Next you have to enter the name of the group that you want to invite to the folder in the upper field. As soon as you start typing the name, the field beneath will suggest groups and you have to select the right one. Lastly, you have to set a permission for the group before clicking OK.
1.1 To change the permission of a member:
1. Click on the share sign of the respective top-level folder you want to invite a user/a group to.
2. Click on Members.
3. The member list will open next.
4. Next, you have to click on the triple dot symbol next to the member you want to edit the permission for.
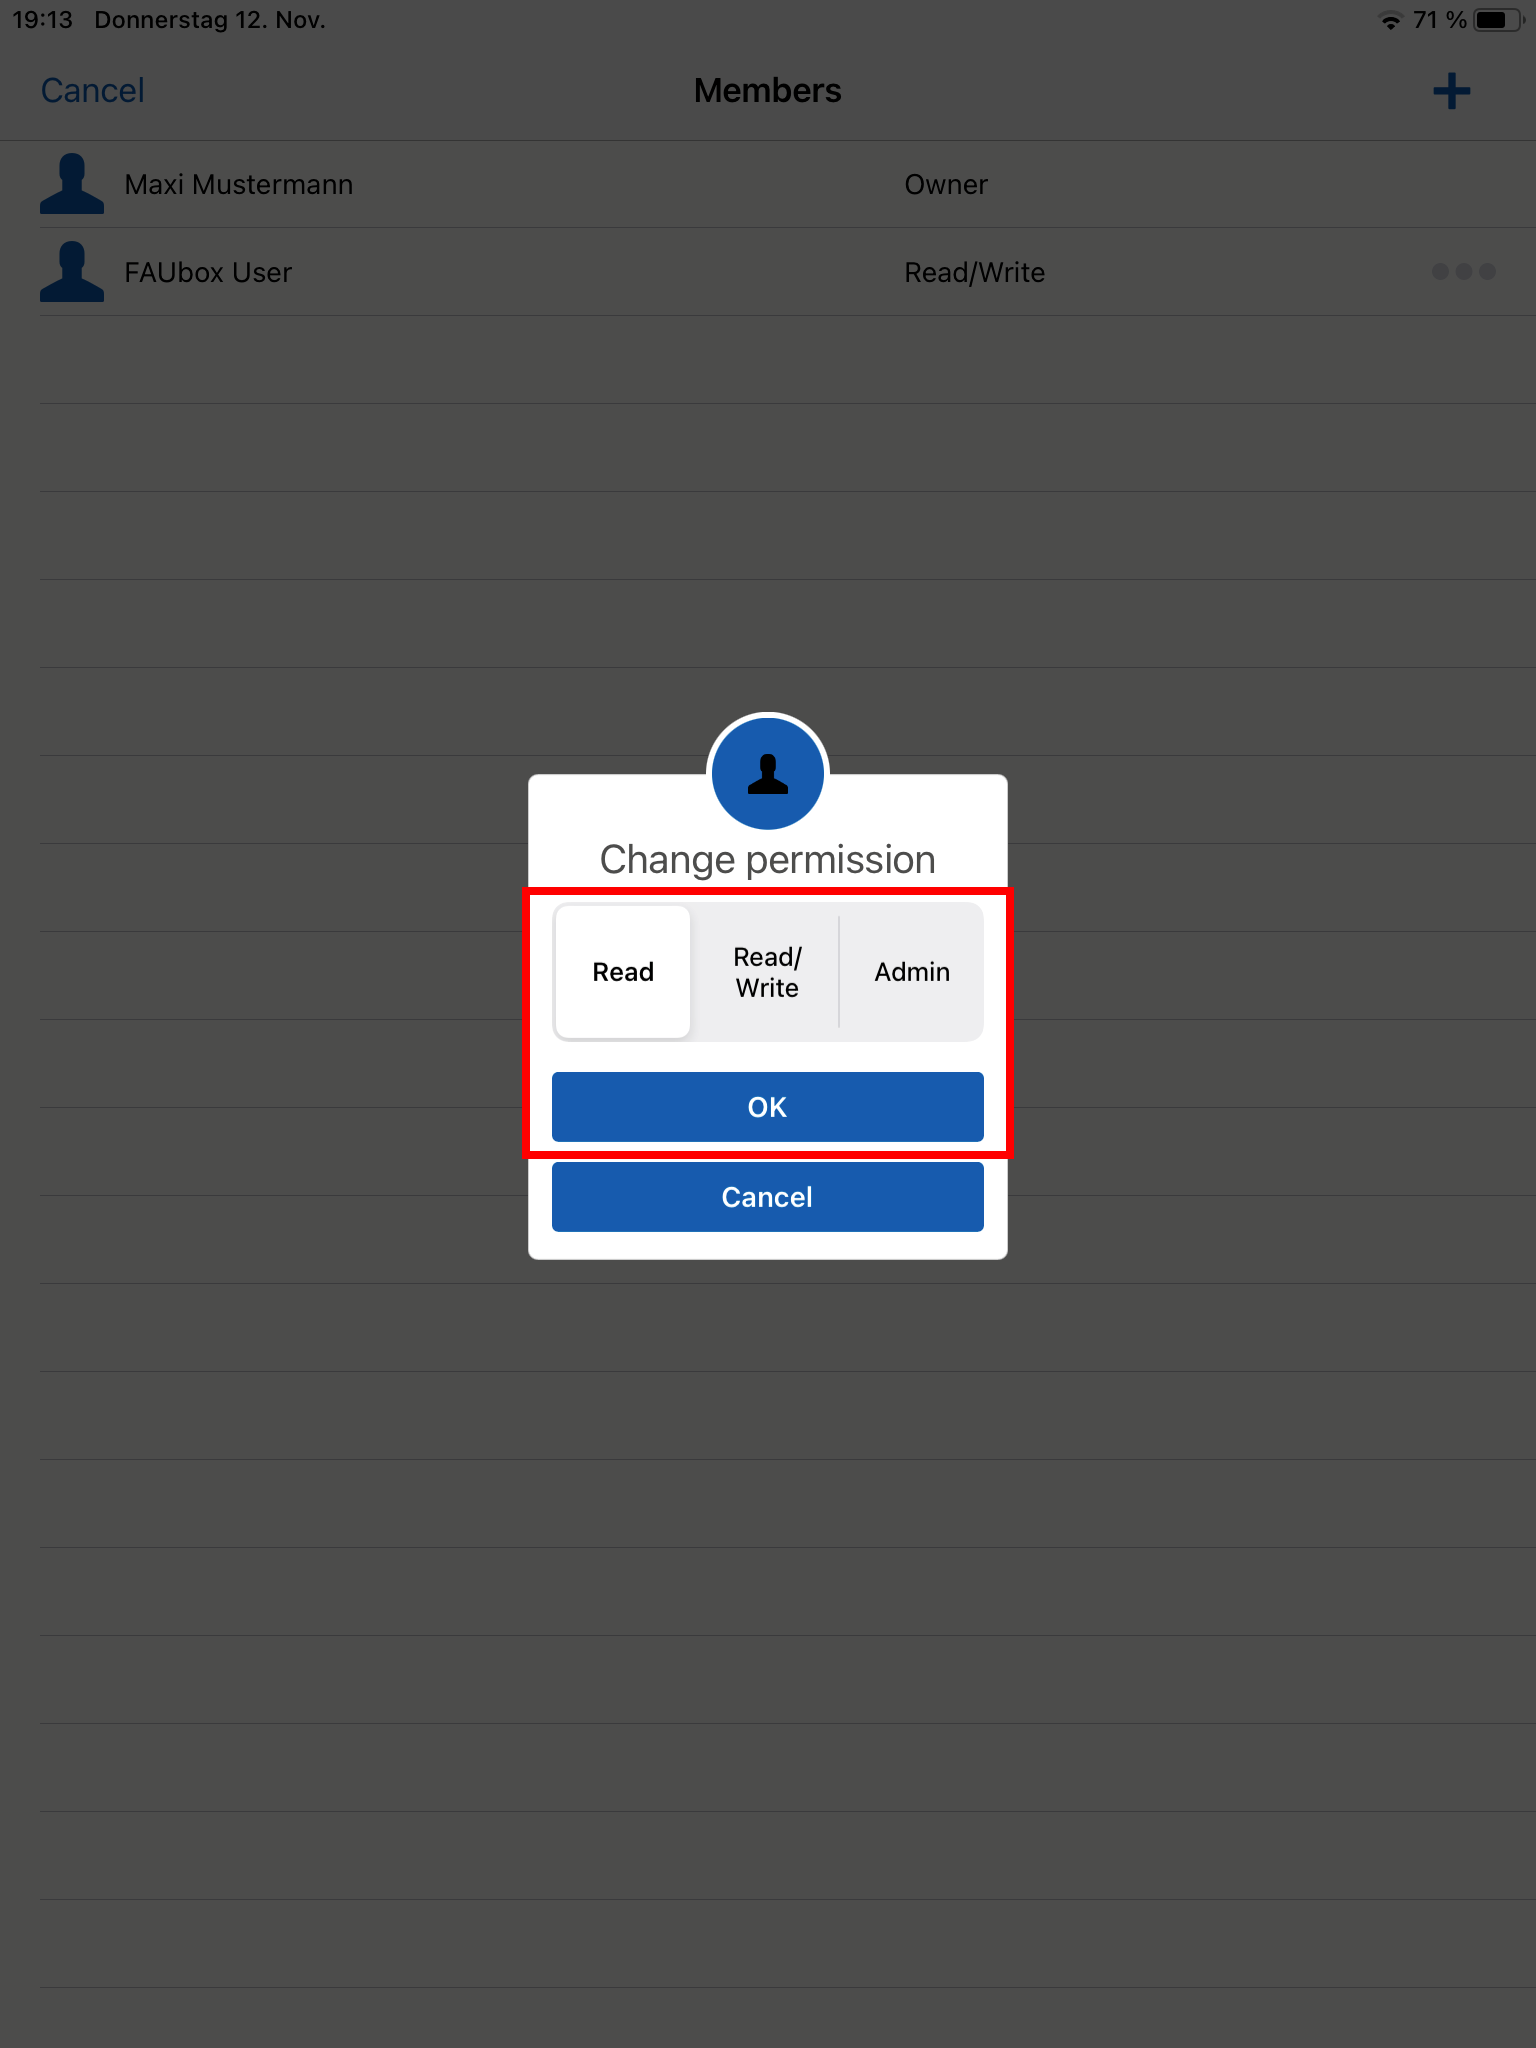
5. Click on Change permission.

6. Select the permission you want to assign to the member and click OK.
7. Done! You have successfully changed the permission of the folder.
1.2 To remove a member from a folder:
1. Click on the share sign of the respective top-level folder you want to invite a user/a group to.
2. Click on Members.
3. The member list will open up next.
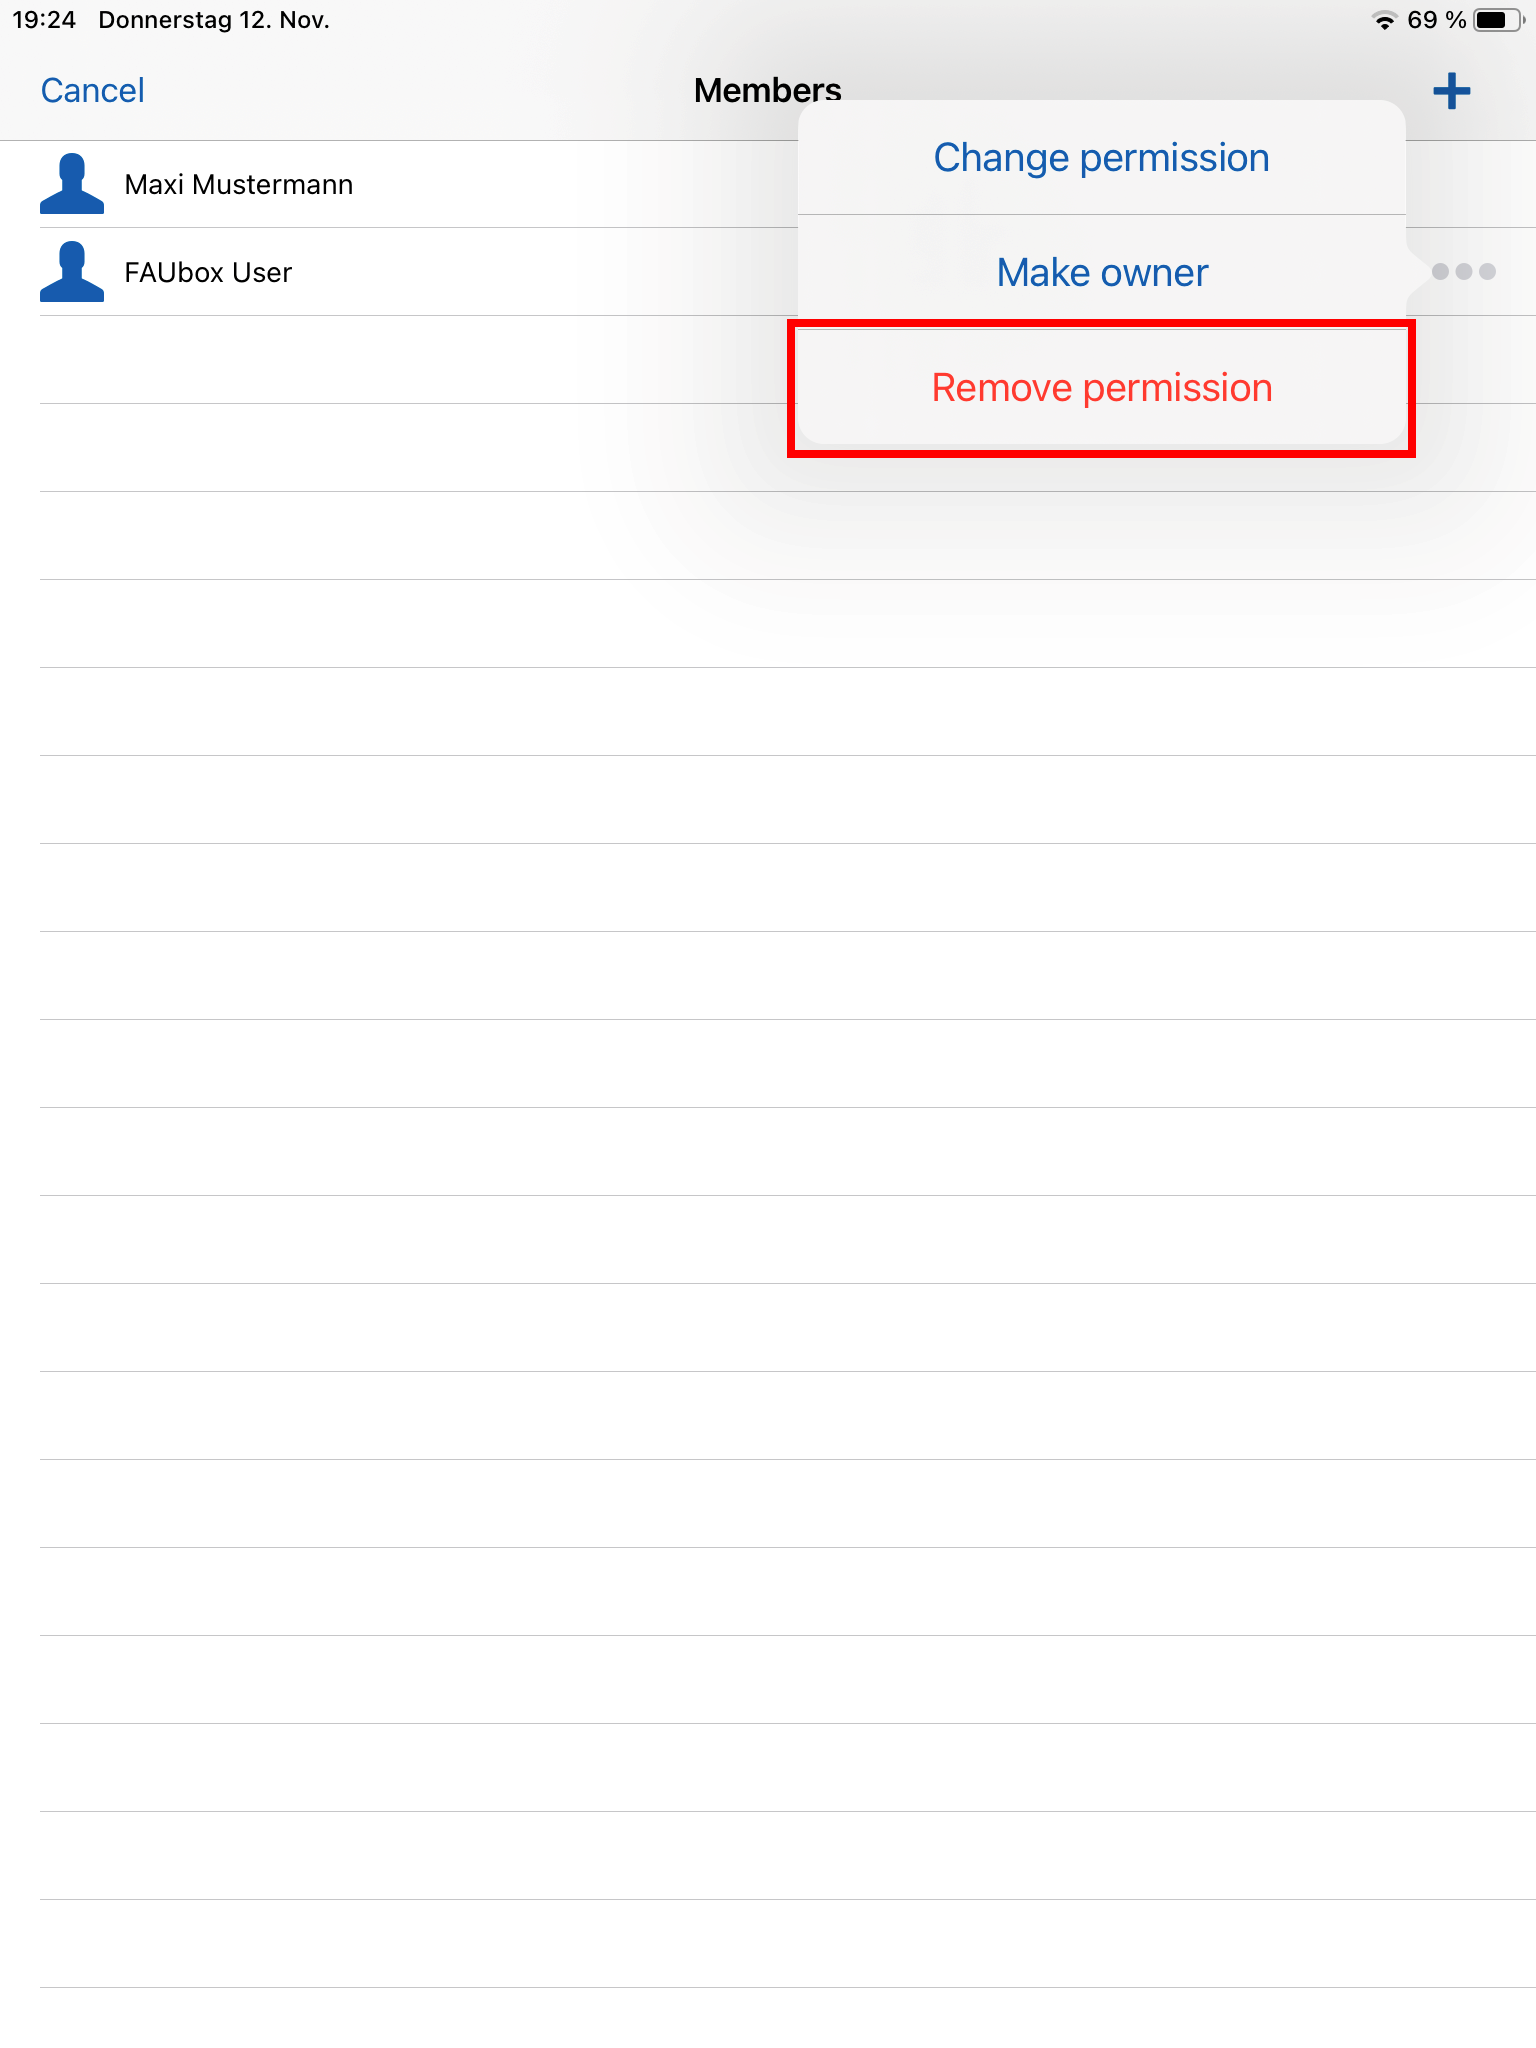
4. Next, you have to click on the triple dot symbol next to the member who you want to remove from the folder.
5. Click on Remove permission.
6. Confirm your choice in the next step by clicking OK.
7. Done! You have successfully removed the member from the folder.
1.3 To make a member the owner of the folder:
1. Click on the share sign of the respective top-level folder you want to invite a user/a group to.
2. Click on Members.
3. The member list will open next.
4. Next, you have to click on the triple dot symbol next to the member who you want to make to the new owner of the folder.
5. Click on Make owner.
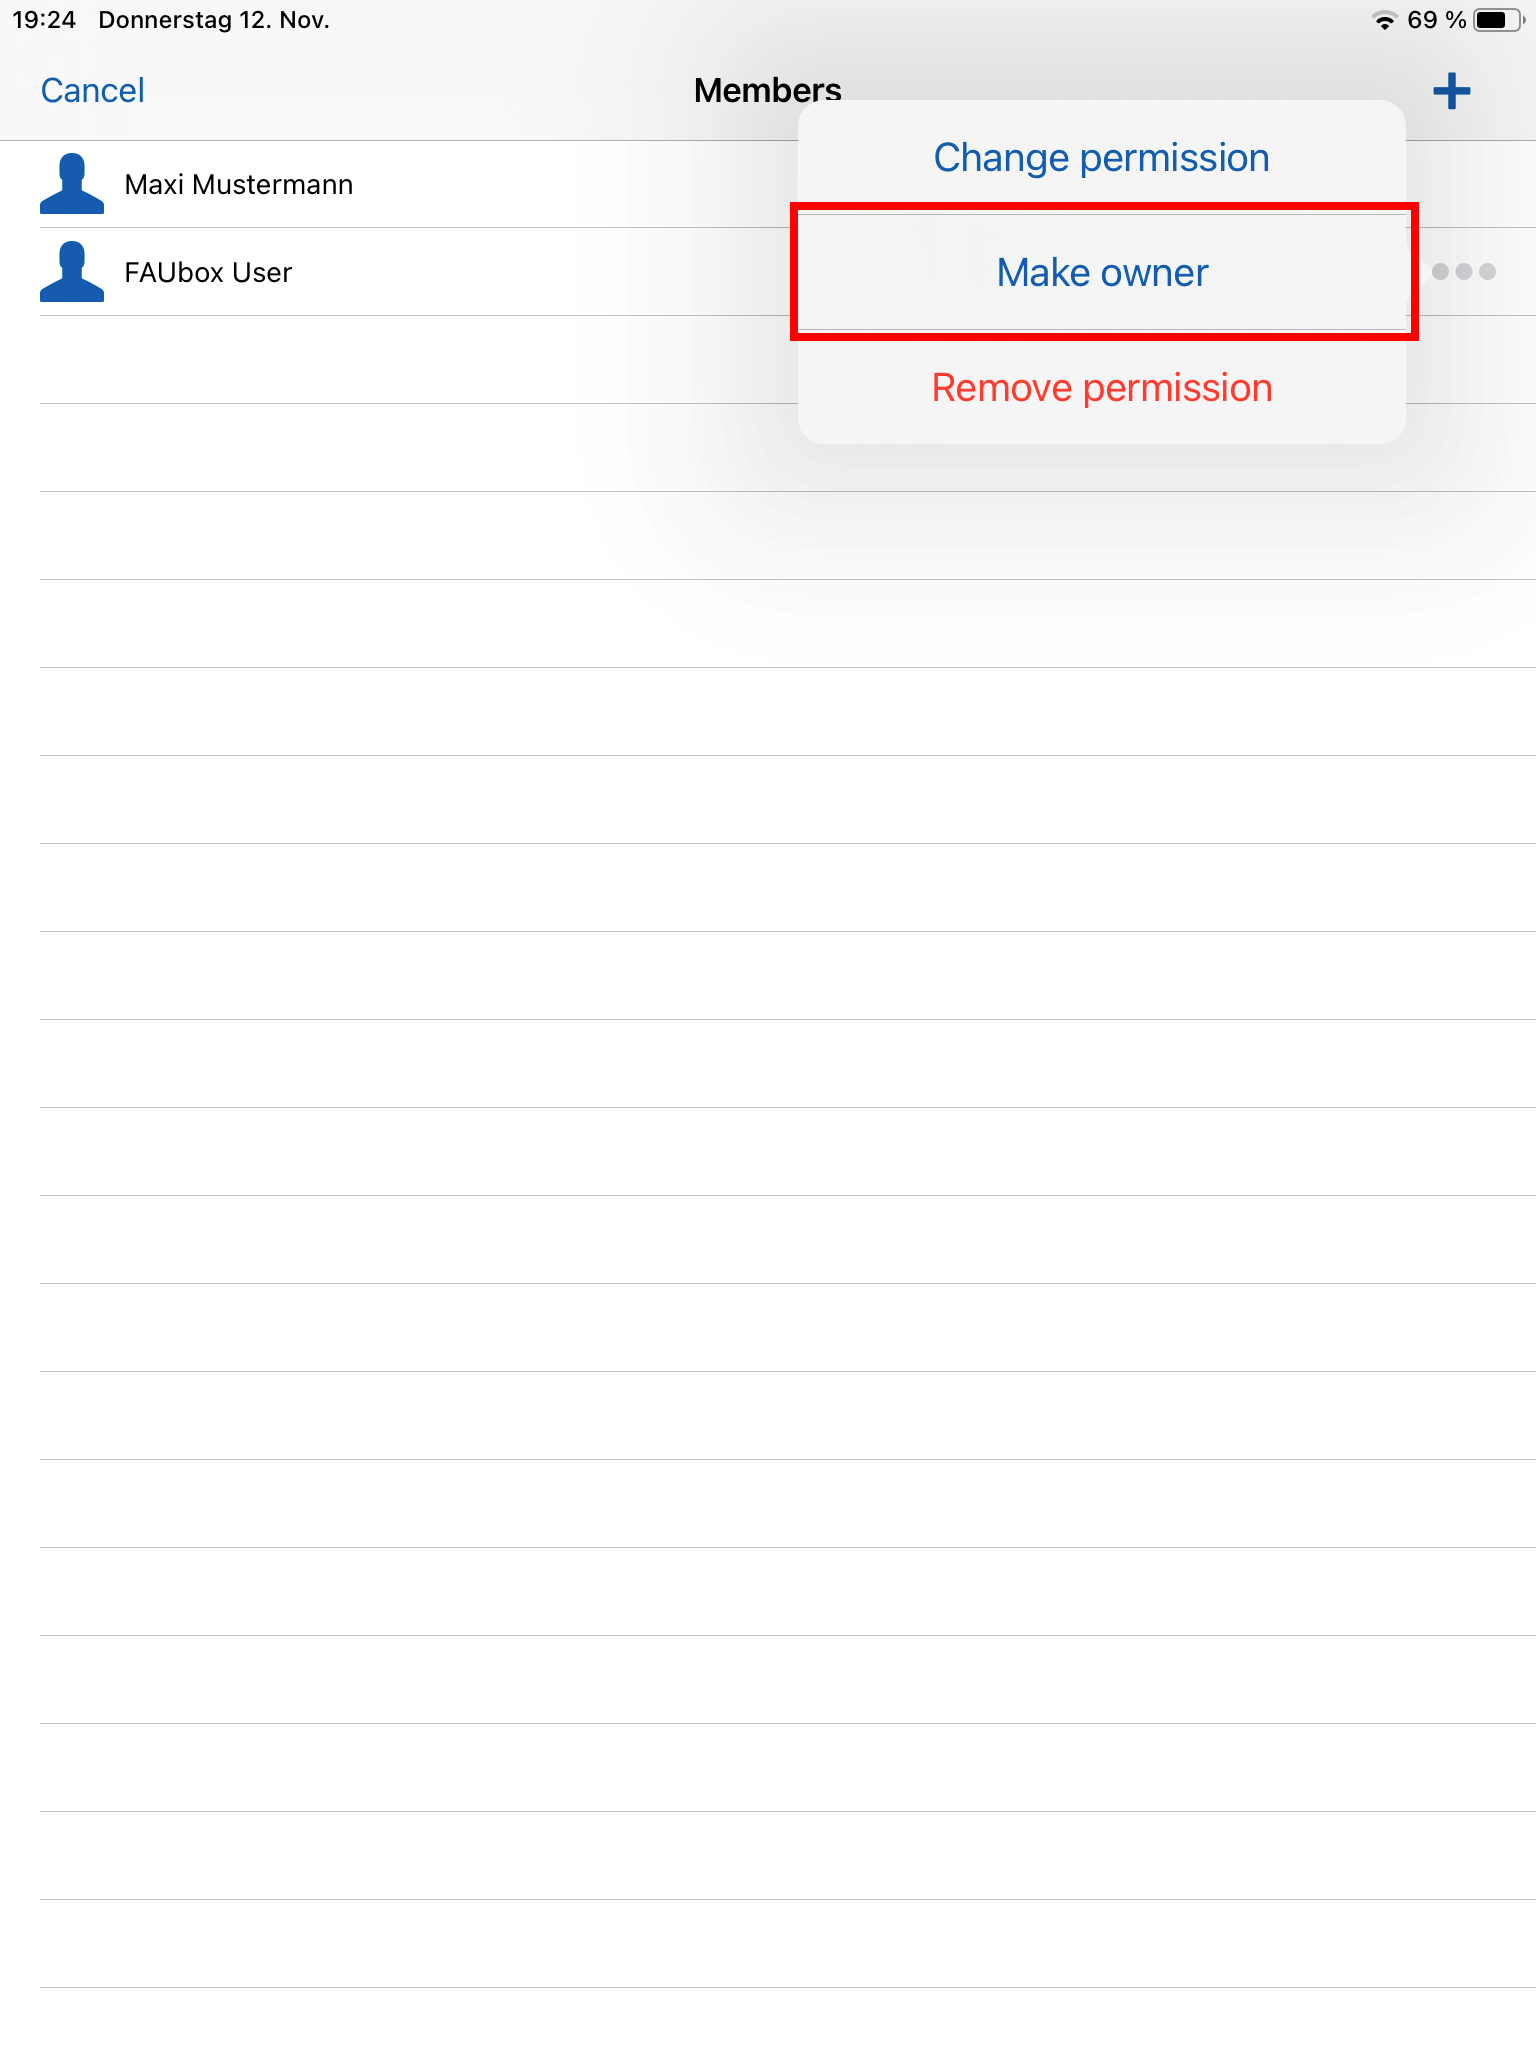
6. Next, the respective member will receive the offer of becoming the new owner of the folder. As soon as he agrees to the request, he will be made the new owner of the folder and you will receive the permission admin.
2. To share a top-level folder via link:
1. Click on the share sign of the respective top-level folder that you want to create a link for.
2. Click on Share link.
3. Next, a link is created and you will be redirected to the following page.
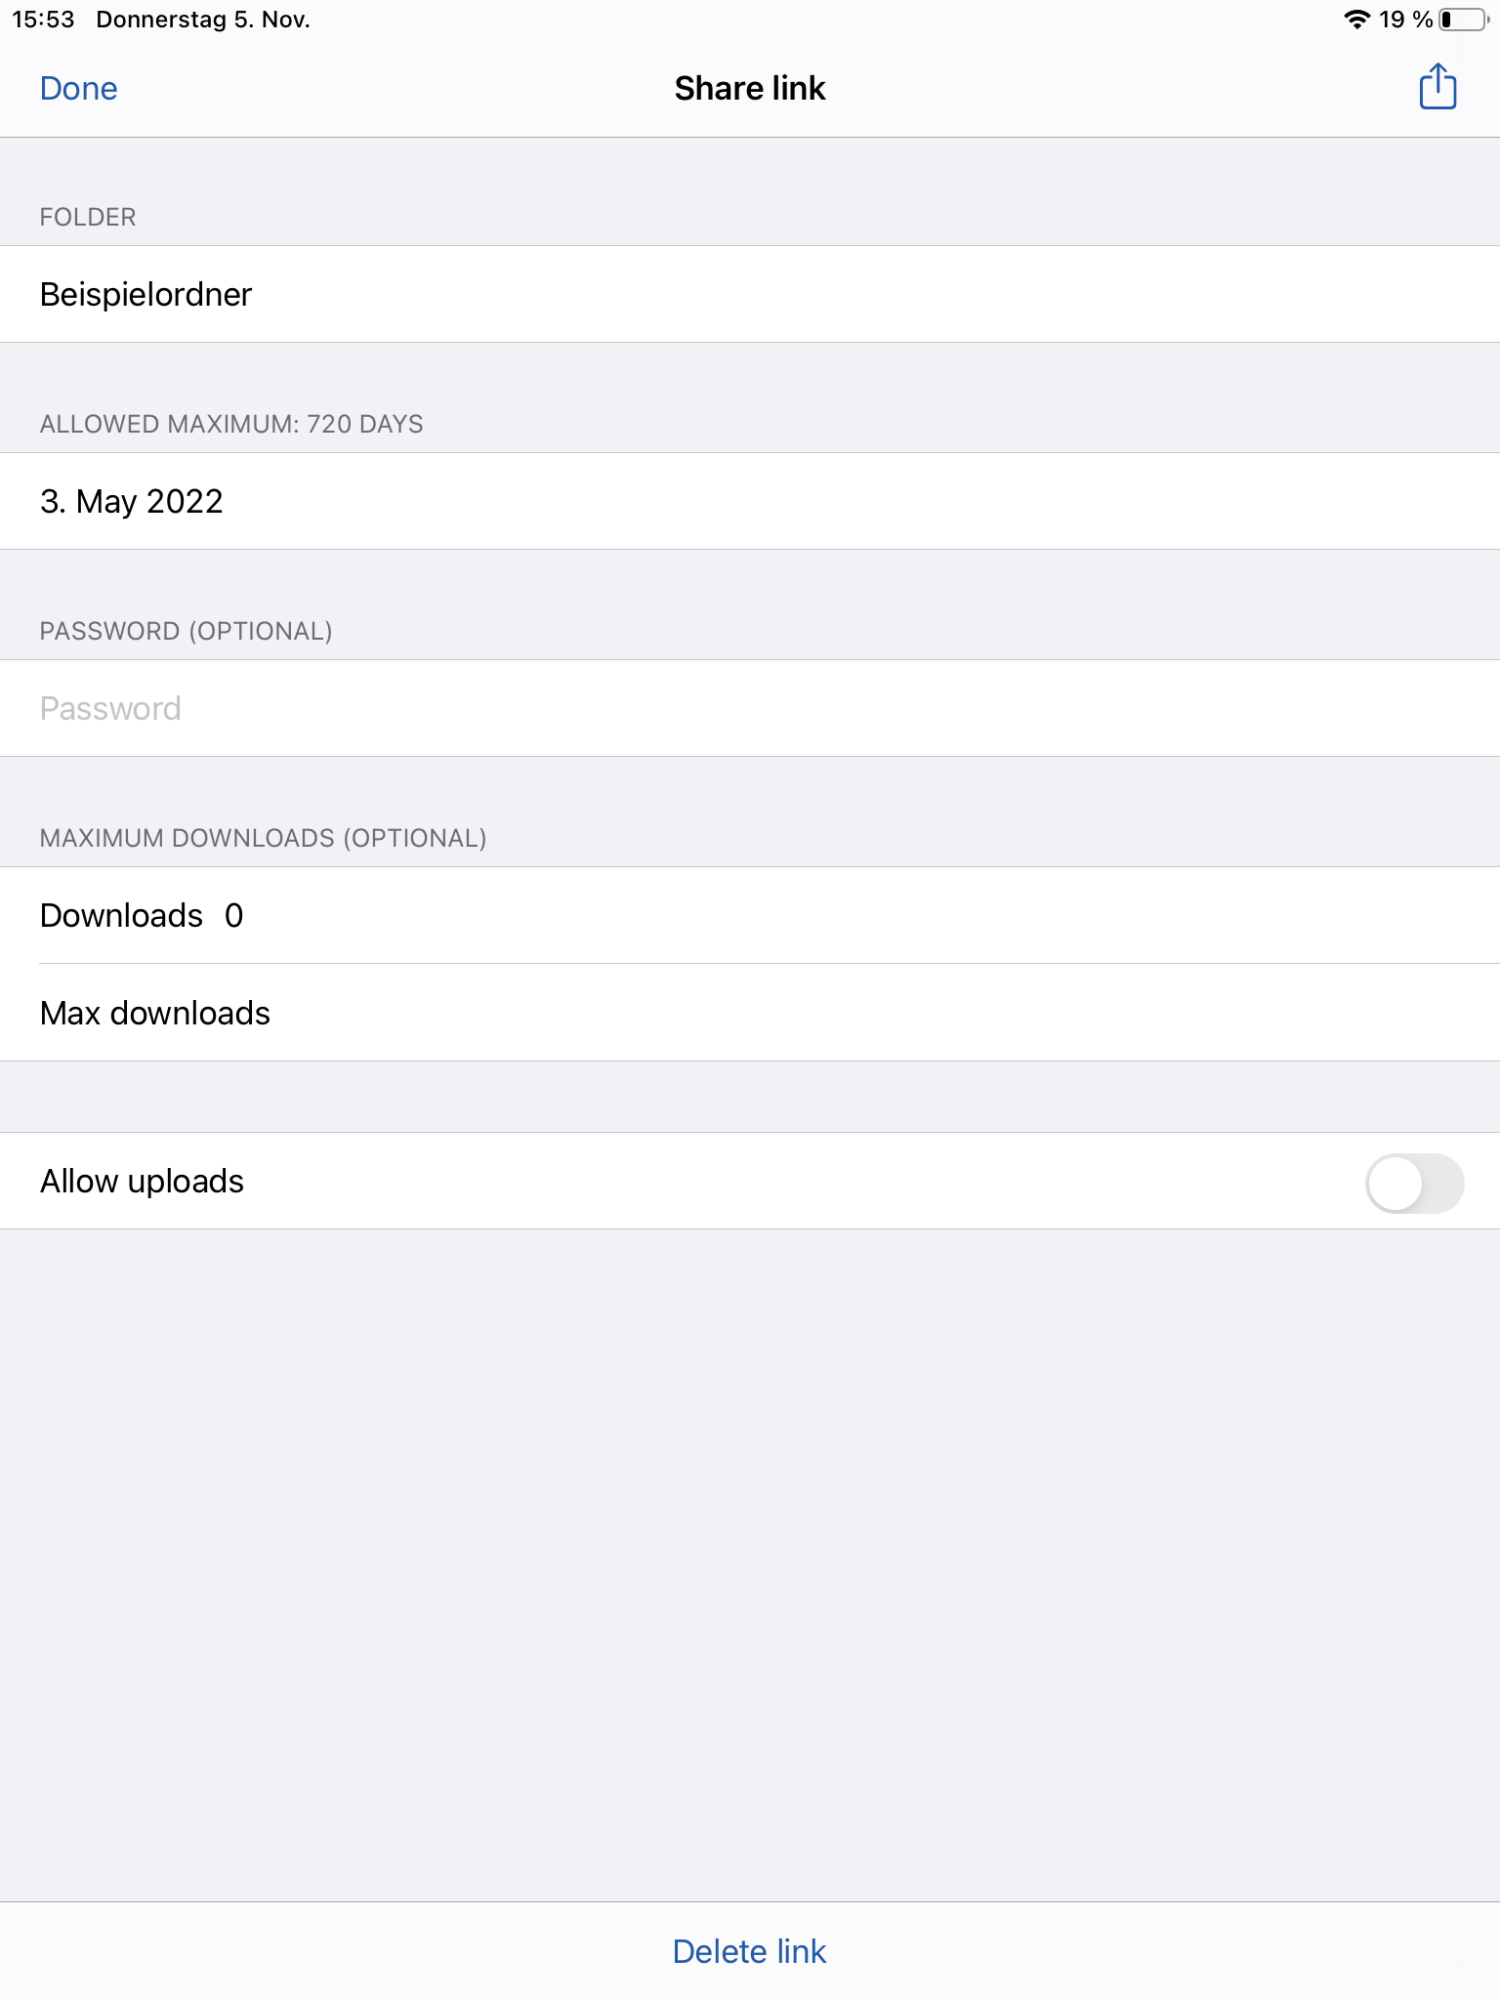
4. You can then configure the link settings if you want to.
- In the field with the heading allowed maximum: 720 days you can set an expiry date for the link.
- In the field with the heading password (optional) you can further secure your link by setting a password.
- In the field with the heading maximum downloads (optional) you can look up how often the link has been downloaded so far (Downloads) as well as set a download limit (Max downloads).
- By enabling the option Allow update you are allowing the user to not only read but also to edit the folder content. Furthermore you are also enabling to upload files into the top-level folder.

Please make sure to only share a link that allows uploads into your folder with people you trust! Links that allow uploads without having to fill out a form can be easily misused for illegal activities.
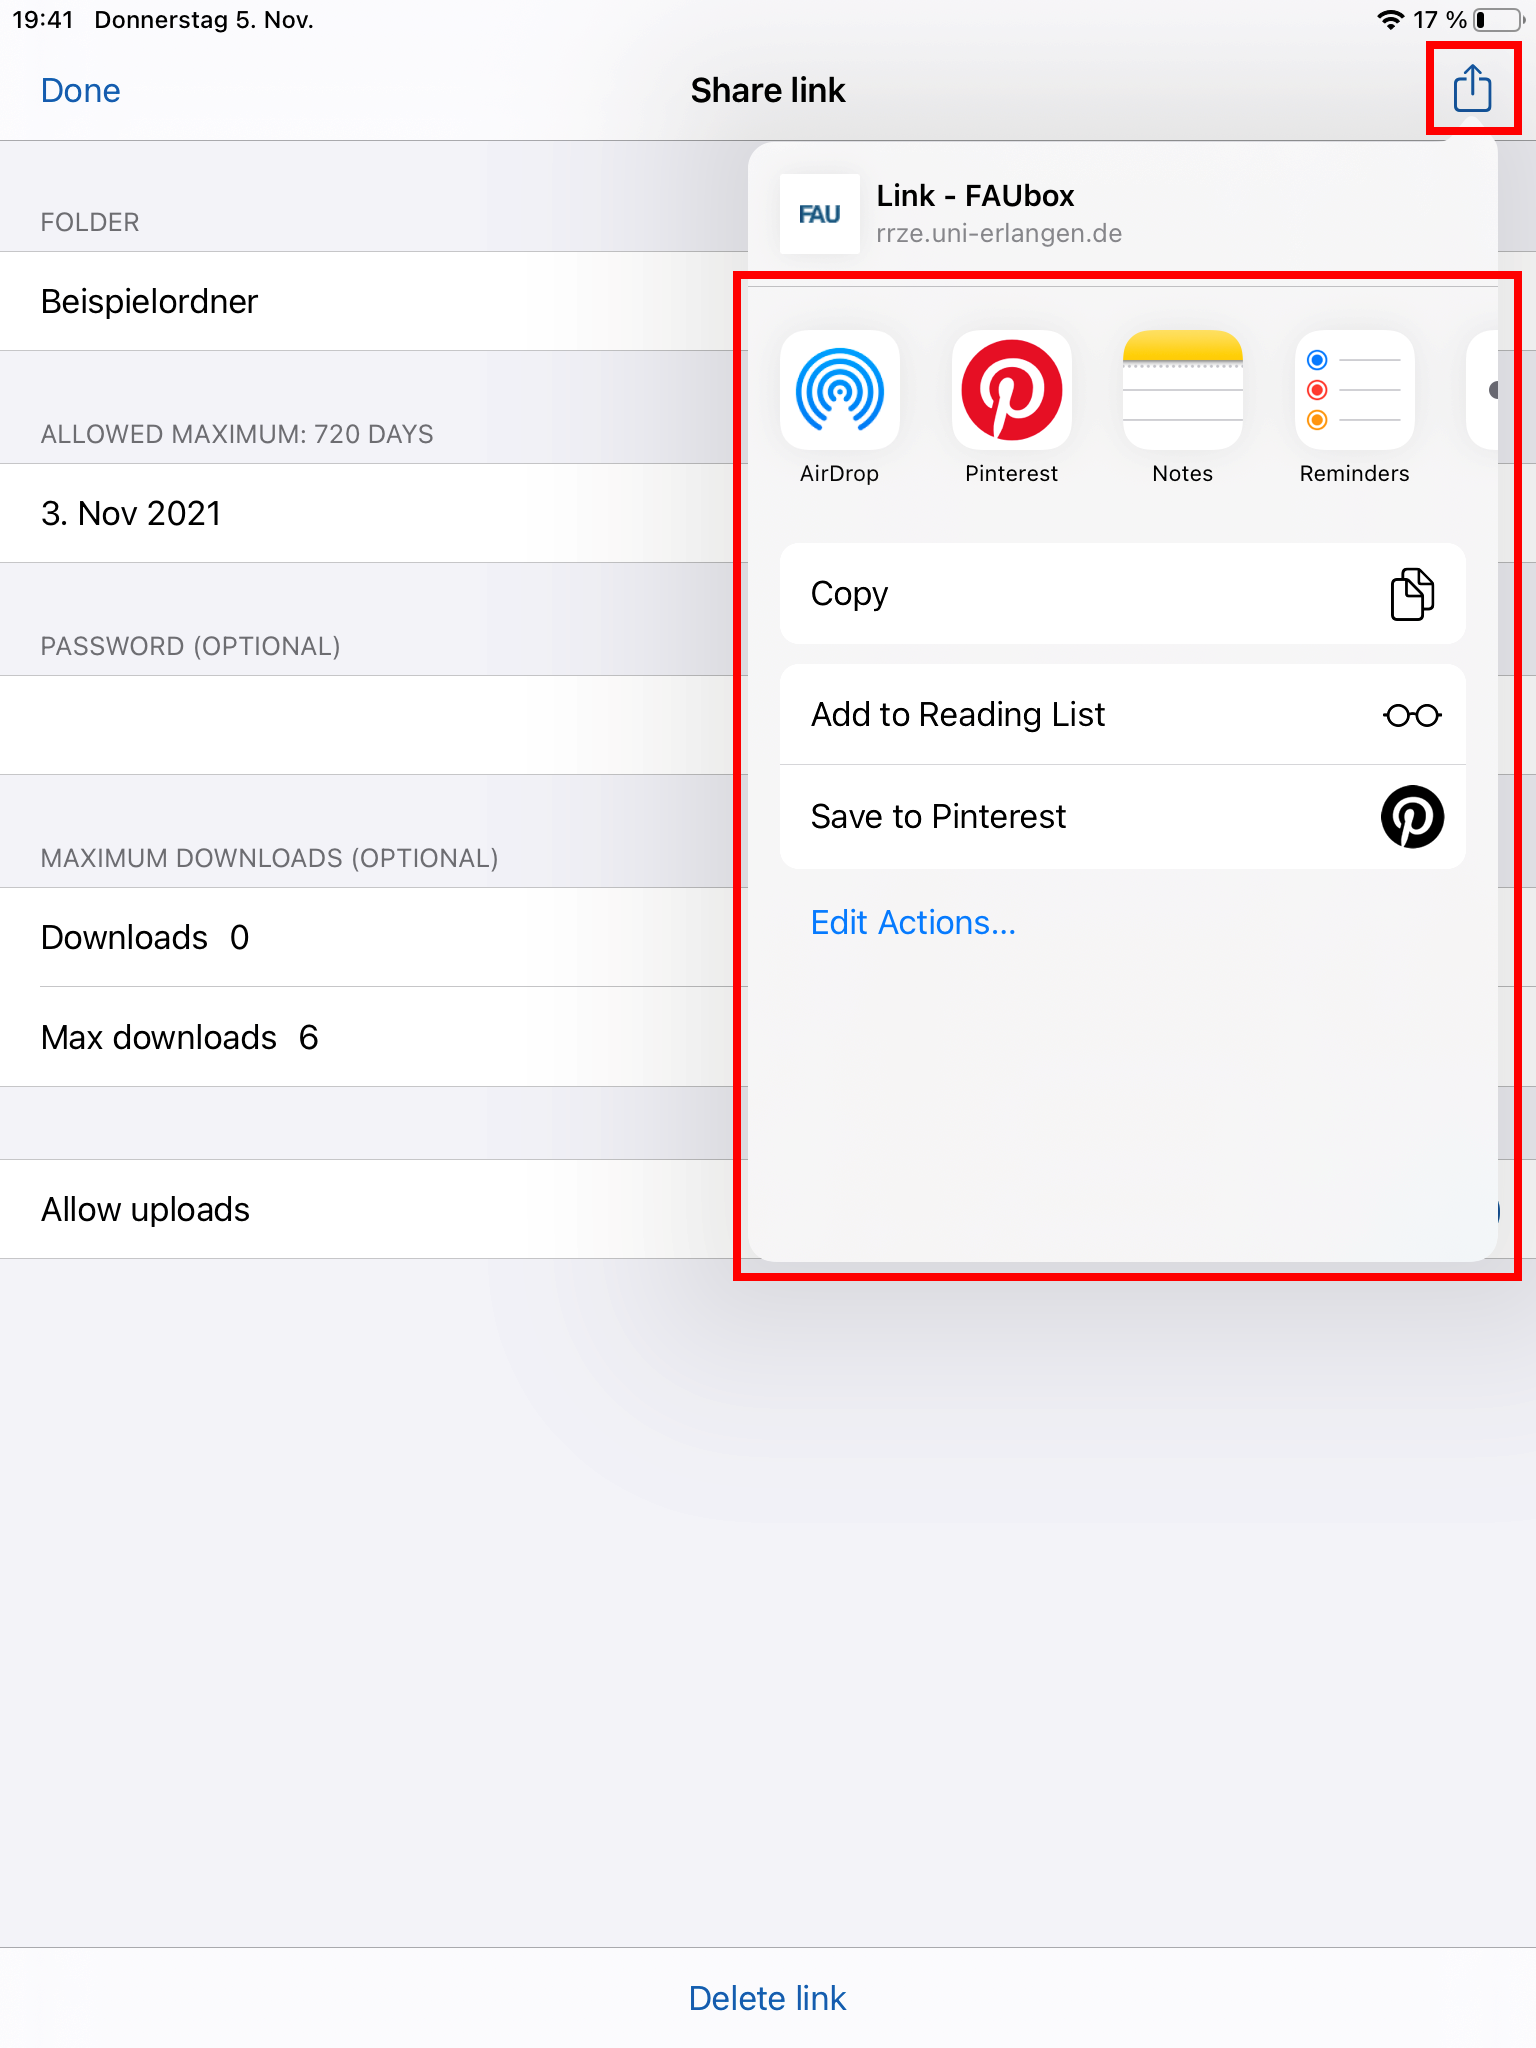
5. After you have configured the link settings, you can either click on the share sign in the upper right corner and choose one of the available options …
… or click on Done on the upper left corner and return to the folder list.
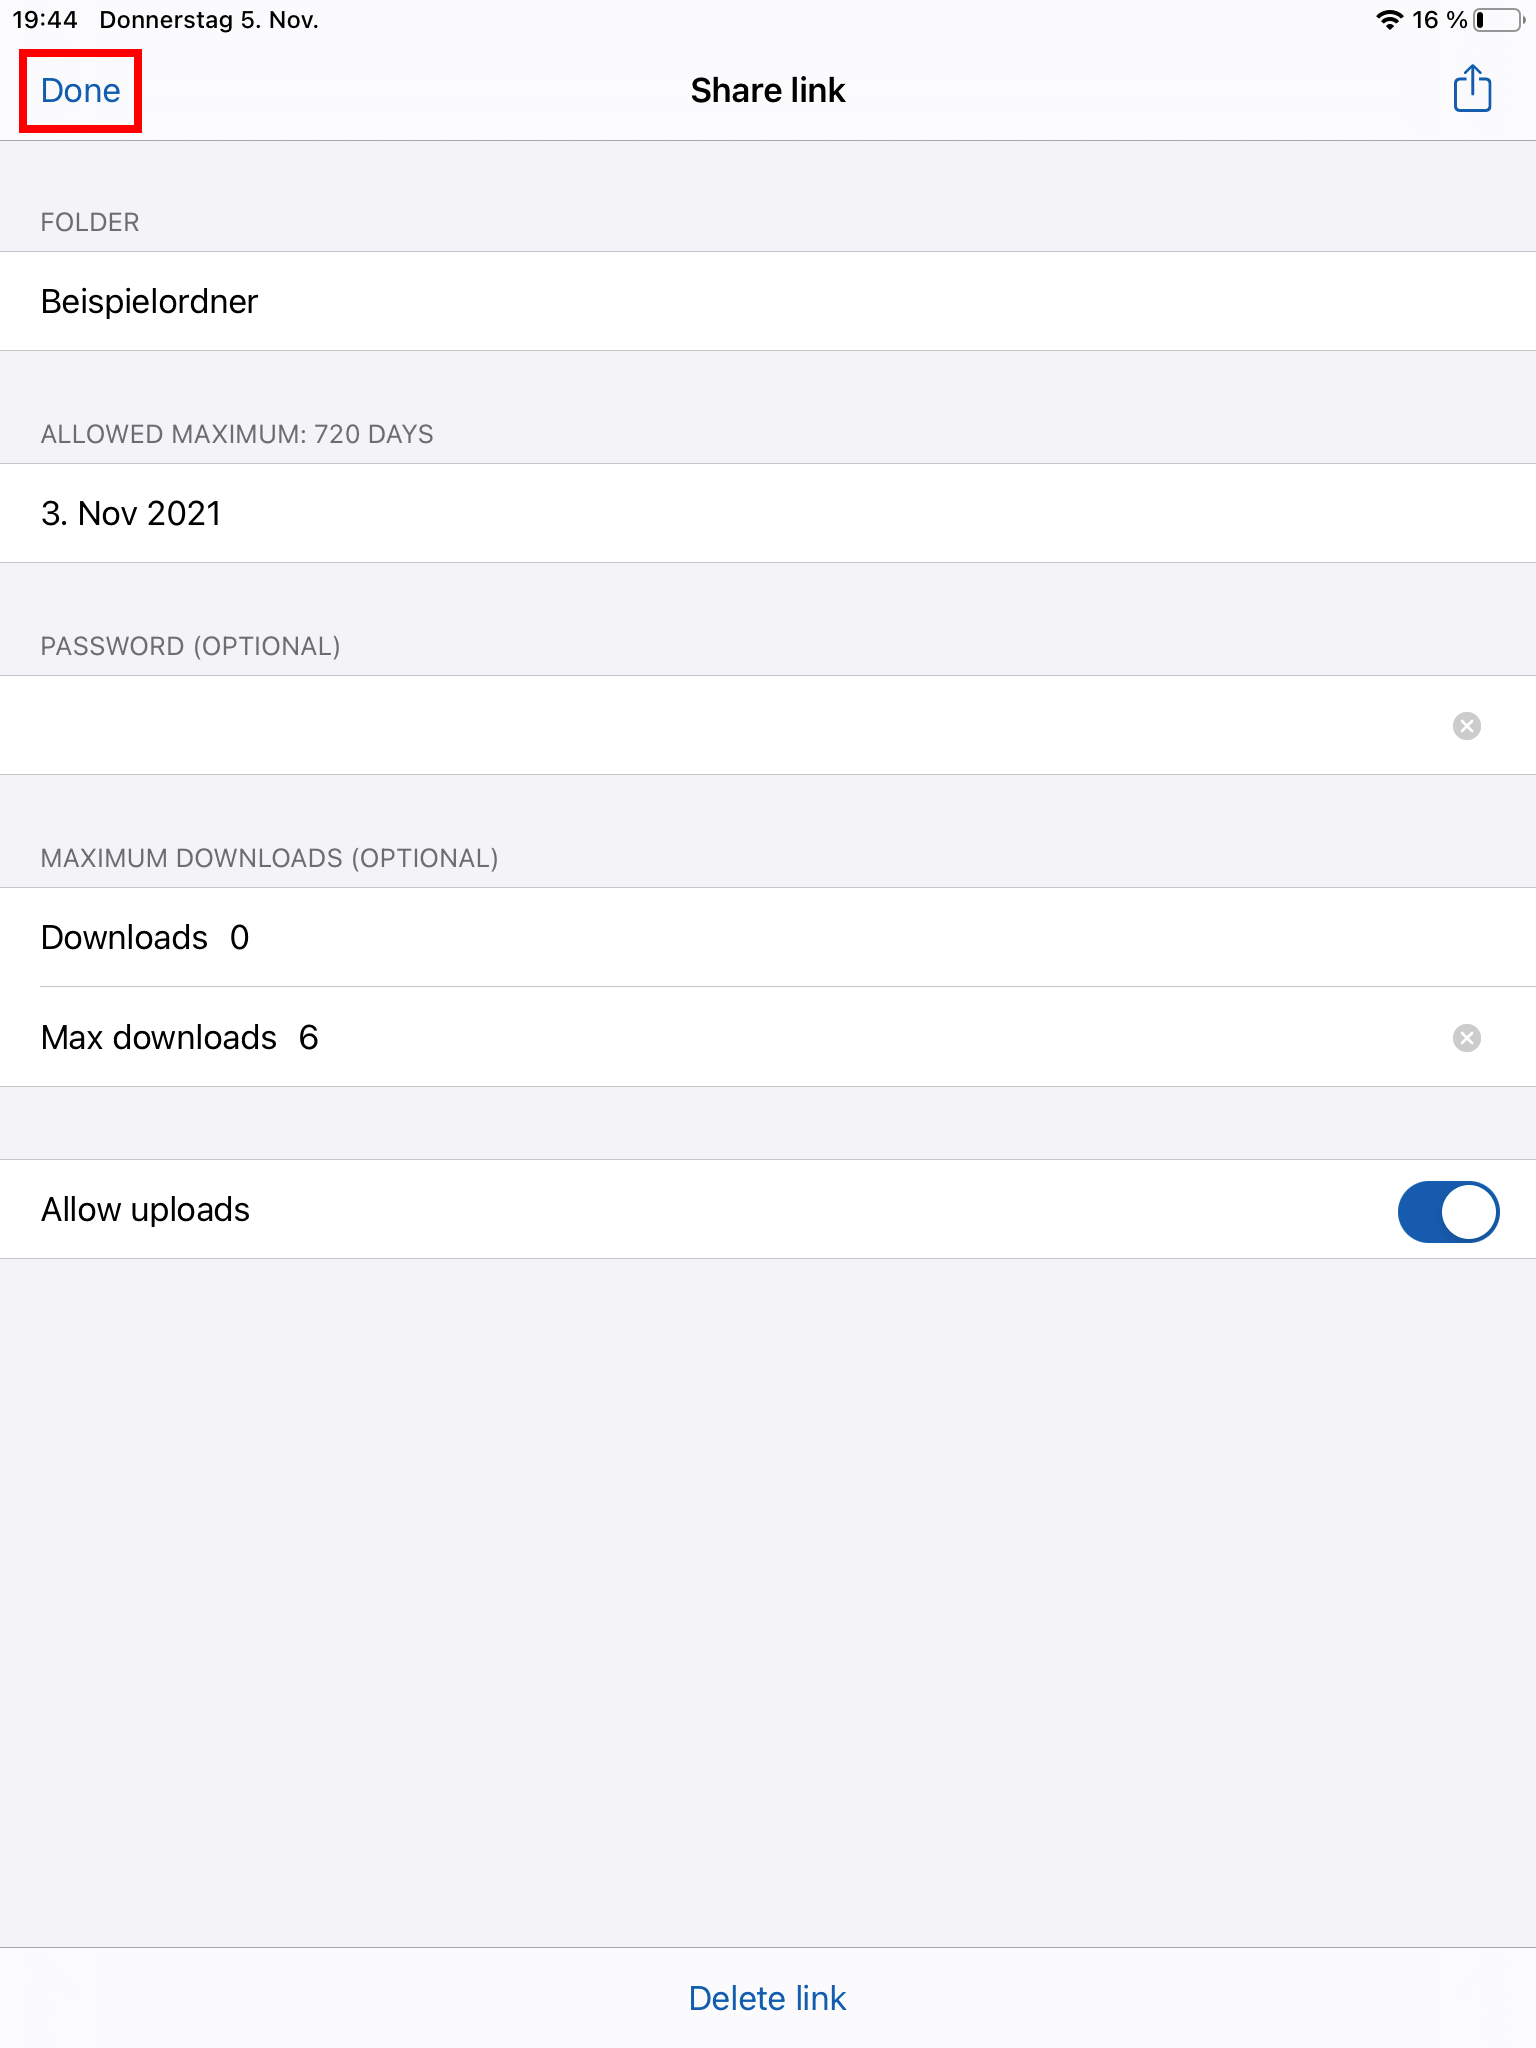
6. Done! You have successfully created a link which you can now share with other people in other to give them access to your top-level folder.
3. To activate a listing of all created links:
If you want to activate a listing of all created links related to a top-level folder or its subfolders and file, then you simply have to click on the share sign of the respective top-level folder and click on Links. Afterwards a listing of all the links connected to this top-level folder will appear.

To close the listing and return to the folder list, simply click on Cancel in the upper left corner.